
Getting accurate measurements for your rack height and ceiling clearance is vital to avoid costly returns and rework. Use proper tools like a tape measure and level, measure multiple points, and account for irregularities or obstructions. Planning for future needs by leaving extra space can save you from adjustments later. If you want to learn how precise measurements can protect your investment and optimize your space, keep exploring these essential tips.
Key Takeaways
- Measure ceiling height at multiple points to account for irregularities before selecting rack height and clearance.
- Allow extra space above stored items and racks to ensure safety, accessibility, and future expansion.
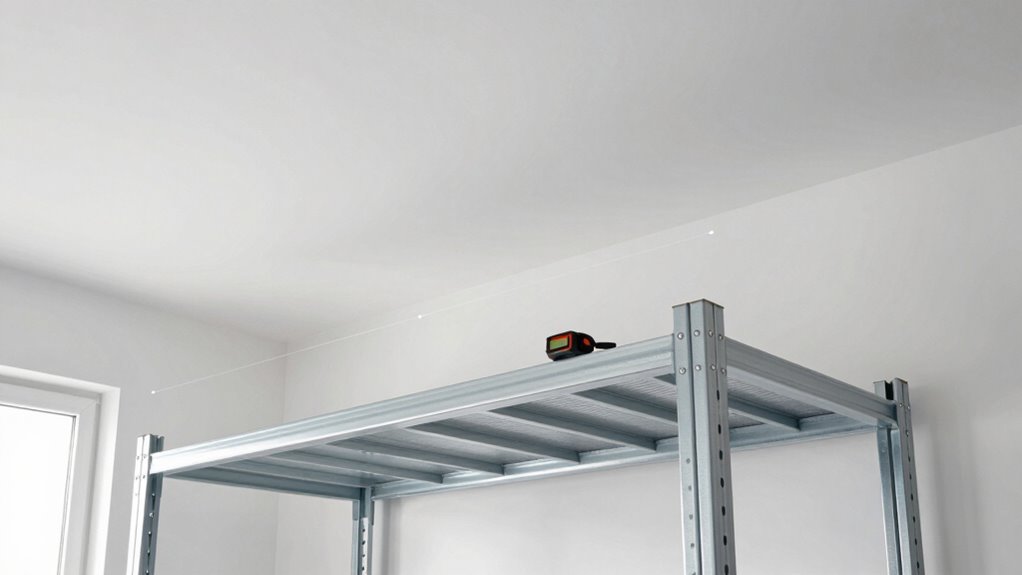
- Use precise tools like laser distance meters and levels for accurate measurements to prevent costly rework.
- Plan rack heights considering current and future storage needs, including larger items and equipment.
- Factor in ceiling obstructions like ducts or lighting to optimize space and avoid safety hazards.

Laser Measure,RockSeed Digital Laser Distance Meter with 2 Bubble Levels,Portable M/in/Ft Unit Switching Backlit LCD and Measuring Distance/Area/Volume/Pythagorean
★ HIGH ACCURACY & UNIT SWITCHABLE ★ With unique 2 Bubble Levels, providing more precise measurement compared to…
As an affiliate, we earn on qualifying purchases.
As an affiliate, we earn on qualifying purchases.
Why Accurate Measurements Save You Money

Accurate measurements are essential because they prevent costly mistakes when installing racks and ceiling clearances. When you measure precisely, you ensure your storage space is optimized, avoiding wasted areas or the need for costly adjustments later. Proper measurements influence design considerations, helping you select the right rack height and ceiling clearance from the start. This foresight minimizes the risk of overcrowding or insufficient space, which can lead to damage or safety hazards. By investing time upfront to get correct measurements, you reduce the chances of returning or replacing equipment, saving both money and effort. Additionally, understanding space planning principles enables you to create a layout that maximizes efficiency and safety. Implementing precision measurement techniques can further enhance your ability to achieve optimal storage solutions. Moreover, developing a measurement checklist ensures consistency and accuracy in every project, preventing overlooked details. Incorporating support tools such as laser distance meters can significantly improve measurement accuracy and streamline the process. Using measurement techniques like double-checking and cross-referencing measurements helps catch errors early, further reducing costly mistakes. Ultimately, precise measurements help you create an efficient, safe, and cost-effective storage environment tailored to your needs.

Digital Tape Measure 16 Ft – 6 Metric and Imperial Units, Easy Read Digital Measuring Tape Retractable with Fractions 1/16, Rechargeable Measurement Tool, for Distance/Area/Volume, Yellow
DATA SYNC DISPLAY TECHNOLOGY – The DT20 Digital Tape Measure is the world's most productive tape measure delivering…
As an affiliate, we earn on qualifying purchases.
As an affiliate, we earn on qualifying purchases.
Measuring Ceiling Height and Clearance Correctly
To measure ceiling height and clearance accurately, you’ll need a few essential tools like a tape measure and a level. Follow a clear, step-by-step process to guarantee your measurements are precise. Getting these details right now will save you time and money later. Additionally, understanding field‑of‑view and imaging‑scale considerations from deep-sky imaging principles can help optimize your setup within the space constraints. It is also helpful to consider measurement accuracy techniques to ensure your results are reliable. Employing calibration methods can further improve the precision of your measurements, especially in irregularly shaped or uneven spaces. Practicing measurement techniques regularly can help you develop a more consistent and reliable approach. Properly selecting jewelry materials can also prevent irritation and ensure comfort during the measurement process, especially if you need to wear accessories or protective gear.
Tools Needed for Measurement
Having the right tools is essential to measure ceiling height and clearance accurately. Using proper measurement tools guarantees you get precise results, avoiding costly mistakes or returns. You’ll need a few key items to make this process smooth. First, a sturdy tape measure or laser distance meter acts as your primary precision instrument for obtaining accurate measurements. Second, a spirit level or bubble level helps verify your measurements are straight and consistent. Third, a notepad and pen allow you to record measurements carefully without losing track. Investing in quality measurement tools assures reliability and accuracy, saving you time and hassle. Additionally, understanding the regulatory requirements related to ceiling measurements can help ensure compliance and proper fit. Being aware of building codes and standards relevant to your space can prevent issues during installation. Furthermore, knowing the standard rack heights can assist in planning your setup effectively. With these tools, you’ll confidently determine ceiling clearance, preventing issues down the line and ensuring your rack fits perfectly.
Step-by-Step Measuring Process
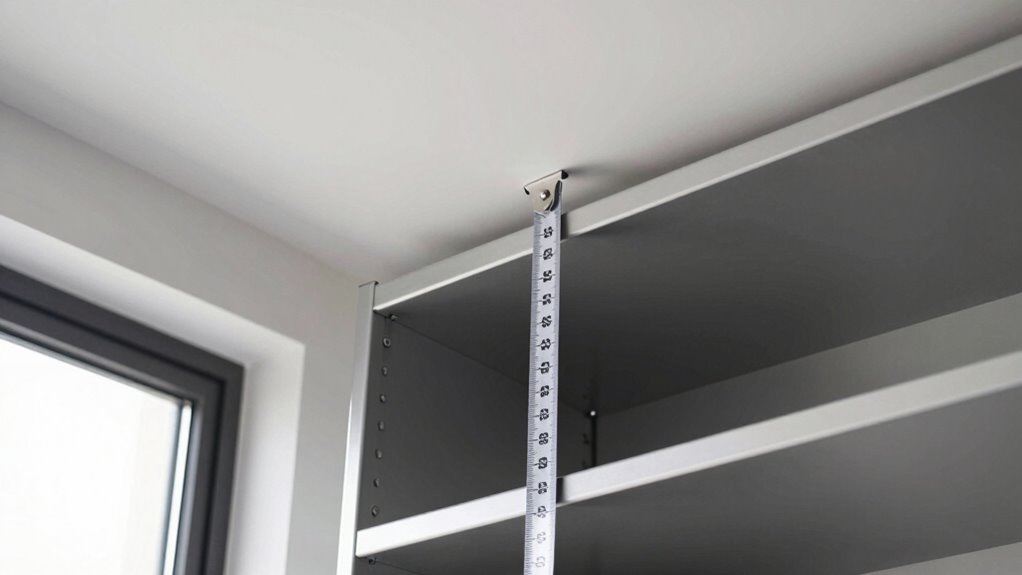
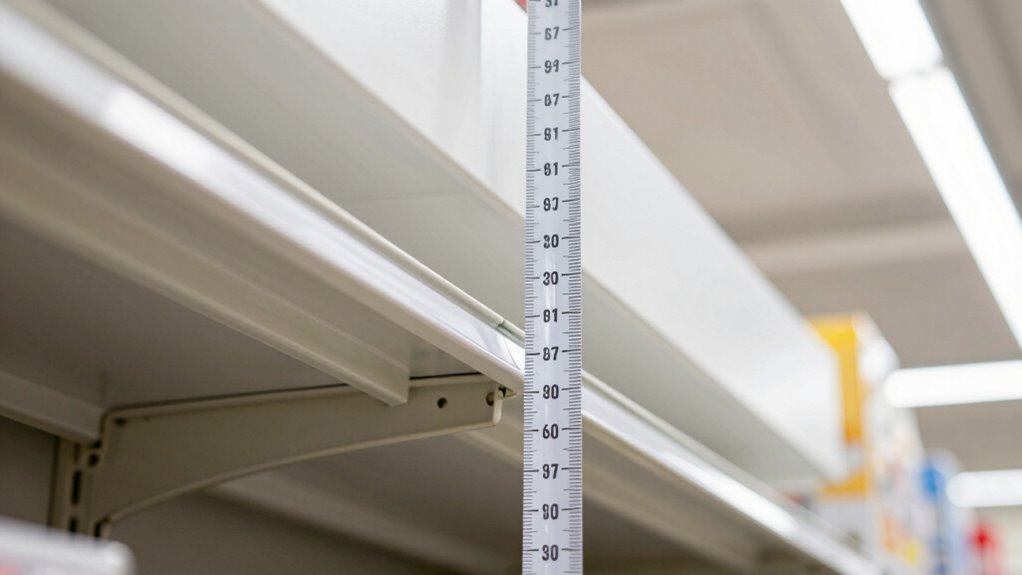
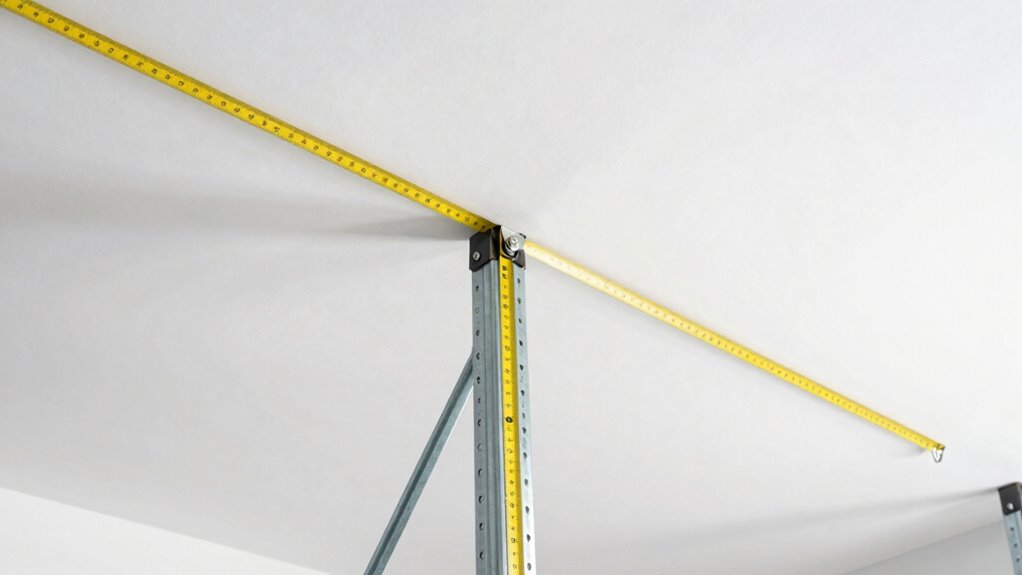
Start by gathering your measurement tools—your tape measure or laser distance meter, spirit level, and notepad. Begin by measuring the ceiling height at multiple points across the room to guarantee accuracy, especially if your ceiling isn’t perfectly level. Record the shortest and tallest measurements to determine the true clearance. Next, measure the space from the floor to the lowest hanging fixture or obstruction, noting any irregularities. Use the spirit level to check for level surfaces, ensuring your measurements are precise. Accurate measurements are vital for effective storage optimization and space planning, helping you select the right rack height without risking returns. Remember that understanding your space dimensions is essential for achieving optimal storage solutions. Take your time, double-check your readings, and document everything clearly to simplify your installation process. Being aware of ceiling irregularities can prevent potential issues during setup. Additionally, understanding building codes and safety requirements can ensure your measurements meet all necessary standards. It’s also helpful to familiarize yourself with measurement techniques for different room types to improve accuracy and consistency.

Torpedo Level Magnetic, Firecore 9 Inch Shockproof Small Leveler Tool with 3 Bubble Spirit Level 45 90 180 Degree, Construction Levelers for Hanging Pictures Install Shelf Home Renovation
Torpedo Level Magnetic: Featuring a magnetic base, Firecore spirit level attaches securely to metal surfaces for a variety…
As an affiliate, we earn on qualifying purchases.
As an affiliate, we earn on qualifying purchases.
Determining the Best Rack Height for Your Space
To find the best rack height for your space, start by measuring your ceiling height to guarantee the rack fits comfortably. Next, think about how you’ll use the rack and what items you’ll store to determine the ideal height. Don’t forget to take into account accessibility needs so you can easily reach everything without strain. Considering storage organization solutions can also help optimize space and functionality. Additionally, understanding building codes and safety standards ensures your setup remains compliant and secure. Incorporating ventilation considerations can further improve safety and comfort in your setup. Being aware of product specifications can help you select the most suitable rack for your specific needs.
Measure Ceiling Height
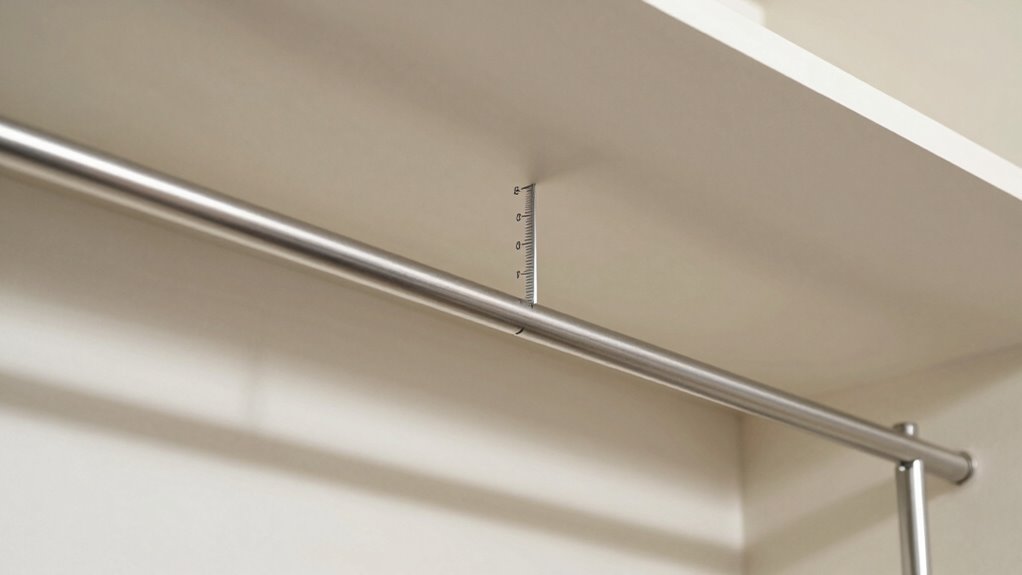
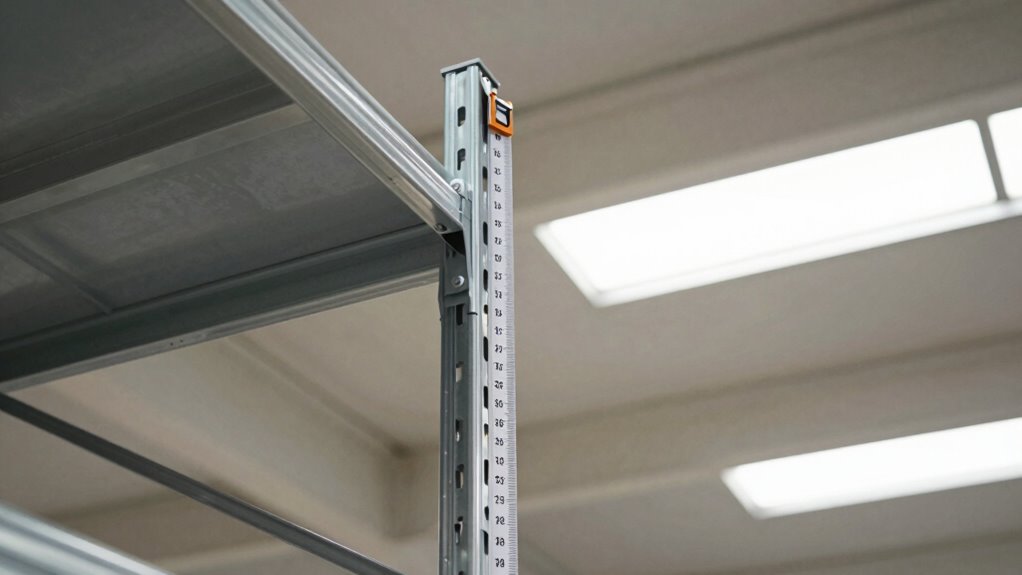
Measuring your ceiling height is a crucial step in choosing the right rack height for your space. Knowing the exact ceiling height helps you determine the necessary rack clearance and avoid a setup that’s too tall or too short. To get an accurate measurement:
- Use a tape measure from the floor to the ceiling, ensuring the tape stays straight.
- Check for any ceiling features or obstructions that might impact clearance.
- Record the tallest point if your ceiling has slopes or beams.
- Remember, space optimization relies on precise measurements to ensure the rack fits perfectly within your space.
Keep in mind, your rack should fit comfortably within the ceiling height, allowing enough clearance for safe and easy access. Proper measurement ensures you select a rack that maximizes space without risking damage or inconvenience. Accurate ceiling height measurement is key for a perfect fit.
Assess Rack Functionality
Evaluating your rack’s functionality is essential to determine the ideal height that suits your storage needs and workspace. Consider how the rack’s height impacts capacity and material durability; a taller rack may offer more storage but risk reduced stability if materials aren’t sturdy enough. To help visualize, review this table:
| Storage Needs | Rack Capacity | Material Durability |
|---|---|---|
| Small items, limited space | Moderate capacity, compact | Made of lightweight material |
| Heavy-duty storage | High capacity, spacious | Heavy-duty, reinforced materials |
| Frequent access | Adjustable height options | Durable finish for regular use |
Align your rack height with what you need to store and how frequently you access items, avoiding unnecessary strain or safety concerns.
Consider Accessibility Needs
When considering rack height, it’s important to think about how easily you or your team can access stored items. Accessibility considerations guarantee everyone can reach what they need without strain. Incorporate ergonomic design principles to reduce discomfort and improve efficiency.
To optimize, consider:
- Adjusting rack heights for different users’ reach capabilities
- Placing frequently used items at waist level for quick access
- Ensuring there’s enough space for safe, comfortable retrieval of heavier or awkward items

DTAPE 165 Ft Laser Measuring Tool, 1/16" High-Accuracy Laser Tape Measure, 2" Backlit LCD Display Laser Measure, Ft/In/Ft+In/M Electronic Tape Measure, Distance/Area/Volume/Indirect Laser Range Finder
Pro Tips: 1. Toggle front or rear reference points as needed. 2. For optimal accuracy on reflective or…
As an affiliate, we earn on qualifying purchases.
As an affiliate, we earn on qualifying purchases.
Calculating Safe Clearance for Different Types of Racks
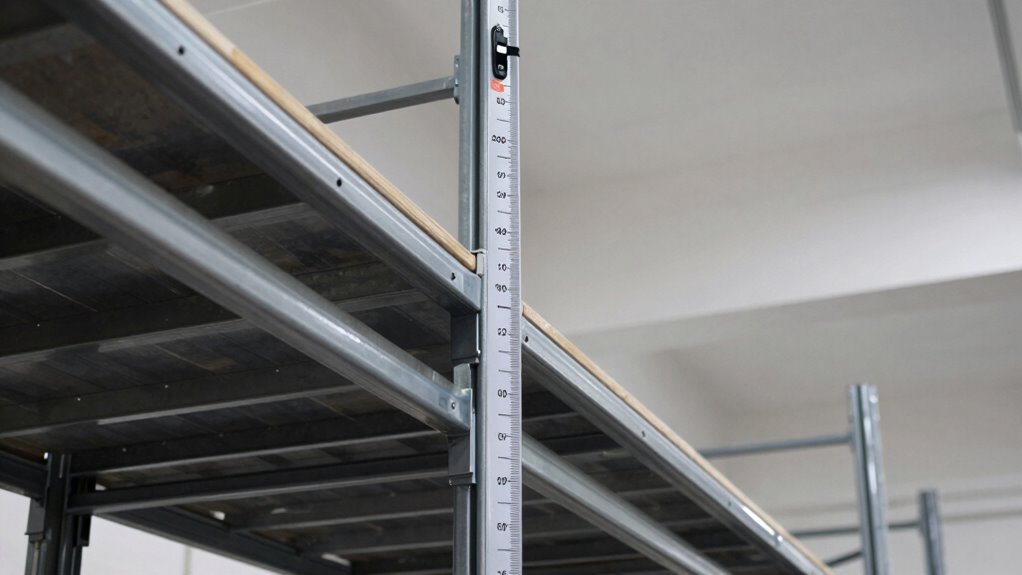
To guarantee safety and functionality, it’s vital to determine the proper ceiling clearance for different types of racks. Your rack configurations vary, and so do ceiling obstructions, which impact clearance needs. For example, heavier or taller racks require more overhead space. Use this table to assess your setup:
| Rack Type | Minimum Ceiling Clearance |
|---|---|
| Pallet Racks | 18-24 inches above tallest item |
| Shelving Units | 12-18 inches above top shelf |
| Cantilever Racks | 24-30 inches above arms |
| Warehouse Racks | 20-24 inches above highest point |
Always account for ceiling obstructions like ducts or lighting. Proper calculations prevent accidents and guarantee easy access, saving you from costly adjustments later.
Common Measurement Mistakes and How to Avoid Them
Measuring ceiling clearance might seem straightforward, but common mistakes can lead to unsafe rack setups or costly adjustments. One mistake is not accounting for ceiling imperfections, which can affect storage optimization. Another is neglecting to take into account the space needed for aesthetic considerations, ensuring your racks look balanced and neat. Lastly, measuring only once or using inaccurate tools can cause errors that impact overall safety and function. To avoid these pitfalls, double-check measurements with a reliable tape measure, account for any irregularities in your ceiling, and plan for extra space to maintain a clean appearance. Accurate measurements ensure your storage is both safe and visually appealing, preventing unnecessary returns and costly reconfigurations. Remember, precision in measurement is key to effective storage and aesthetic harmony.
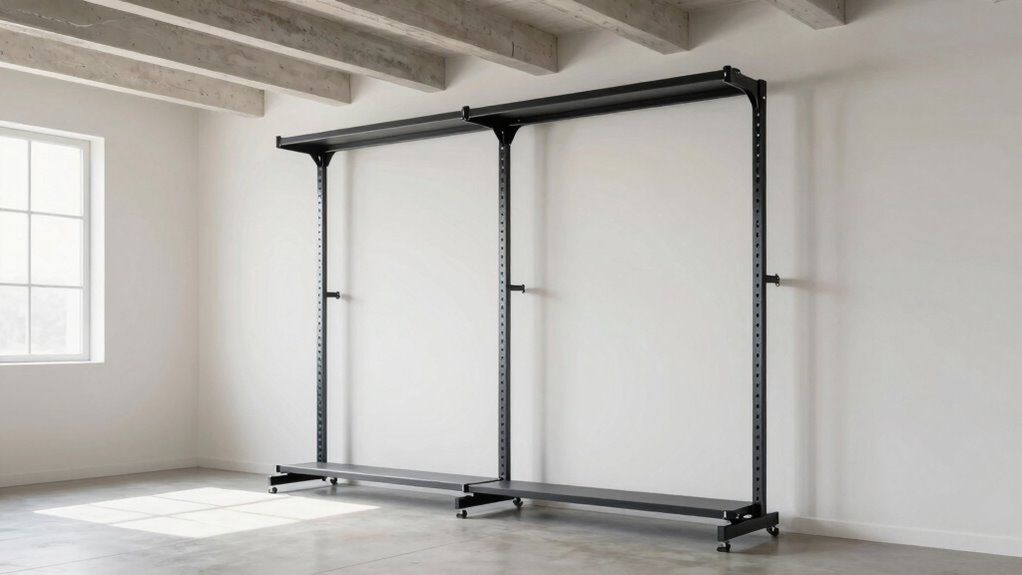
Adjusting Rack and Ceiling Heights for Future Flexibility
Planning for future flexibility requires adjusting your rack and ceiling heights now so they can accommodate changing needs later. When adjusting rack heights, consider how your storage requirements might evolve, and leave some room for growth. Use ceiling clearance tips to ensure there’s enough space for larger items or equipment that might be added later. Make sure your ceiling height allows for easy access and movement without sacrificing headroom. If you’re installing adjustable racks, set them at a height that can be easily modified in the future. Remember, flexibility saves you time and money by reducing the need for rework. By proactively adjusting rack heights and following ceiling clearance tips, you create a versatile setup that adapts seamlessly to your evolving needs.
Using Your Measurements to Prevent Costly Rework
Accurately using your measurements from the start can save you significant time and money by avoiding costly rework later. When planning your rack organization and ceiling design, precise measurements ensure everything fits as intended. Misjudging rack height or ceiling clearance can lead to reinstallation, delays, and added expenses. To prevent this, double-check your measurements for:
- Proper clearance between racks and ceiling to allow easy access and airflow
- Consistent heights that match your storage needs and maximize space
- Adjustments based on ceiling design features like beams or slopes
Planning Your Storage Space for Efficiency
To maximize your storage space, start by evaluating your current needs and identifying the types of items you’ll store. This step is vital for effective storage optimization and space maximization. Consider the size, weight, and frequency of access for each item to determine the best placement and rack height. Group similar items together to streamline retrieval and reduce clutter. Use adjustable shelving or modular systems to adapt to changing storage demands over time. Plan for clear pathways to improve accessibility and safety. By thoughtfully organizing your space based on your specific needs, you guarantee that every inch is used efficiently. This proactive approach helps prevent wasted space and makes future reorganization easier, ultimately saving you time and reducing the risk of costly rework.
Final Checklist: Measure Accurately Before Installing
Before you start installing racks or shelves, double-check that you have all the necessary measurements. Accurate measurements prevent costly mistakes and guarantee your storage solutions fit perfectly. Take the time to verify ceiling height, especially if ceiling modifications are planned, and consider how rack customization might impact space. Measure from the floor to the ceiling, accounting for any moldings or fixtures. Confirm the depth and width of the area to prevent oversights. Also, double-check your chosen rack height against ceiling clearance to avoid future adjustments. Remember, small inaccuracies can lead to rework or damage. Having precise measurements now saves you time and money later, making installation smoother and more successful. Proper planning is the key to avoiding returns and ensuring ideal storage.
Frequently Asked Questions
How Often Should I Re-Measure Rack and Ceiling Heights?
You should re-measure rack and ceiling heights whenever you notice changes in your storage space or plan new storage setups. Regular checks ensure measurement accuracy, preventing costly mistakes and returns. For ideal storage planning, measure before buying new shelving or rearranging existing units. Doing this periodically, especially if your space or equipment shifts, helps maintain precise measurements and avoids issues with fitting or accessibility.
What Tools Are Best for Precise Height Measurements?
Think of measuring equipment as your trusty compass for height accuracy. For precise measurements, use a laser distance meter or a digital height gauge—these tools cut through guesswork like a sharp blade. A laser distance meter offers quick, accurate readings from a distance, while a digital height gauge provides reliable measurements for shorter spans. Both guarantee your rack height and ceiling clearance are spot-on, preventing costly returns.
Can Uneven Floors Affect Height Measurements?
Uneven floors can definitely affect your height measurements. When you measure from a floor level, uneven surfaces or slopes can lead to inaccurate results. To get precise measurements, make certain the surface is as level as possible or use a spirit level to check for unevenness. Adjust your measurements accordingly, or place your measuring tools on a stable, level surface to avoid errors caused by uneven floors.
How Do I Account for Future Storage Expansion?
Think of your storage space like a growing tree—you want to leave room for branches to expand. To account for future storage expansion, plan with extra headroom and adjustable shelving for storage flexibility. During expansion planning, consider taller racks or modular designs that can adapt as your inventory grows. This proactive approach helps prevent costly reconfigurations and guarantees your storage solution scales smoothly with your needs.
What Safety Margins Should I Include in Measurements?
You should include safety margins of about 2-3 inches in your measurements to account for measurement accuracy and guarantee safe clearance. This buffer helps prevent fitting issues and allows for minor inaccuracies during installation. Always double-check measurements and consider any future expansion plans, so your storage setup remains safe, functional, and adaptable without risking damage or the need for costly adjustments later.
Conclusion
So, next time you measure your ceiling height and rack space, remember—it’s the one thing standing between a perfect fit and a costly rework. Ironically, a tiny mistake can turn your organized storage into a chaotic maze. Take the time to measure carefully; it’s the small detail that saves you big bucks. After all, isn’t avoiding a costly mistake the true height of smart planning?