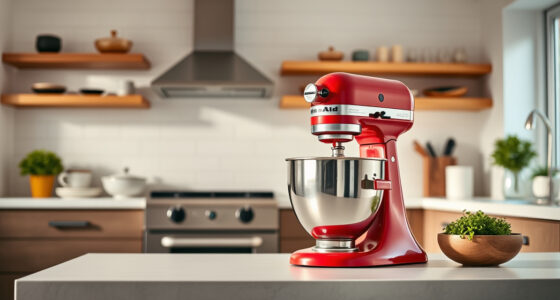
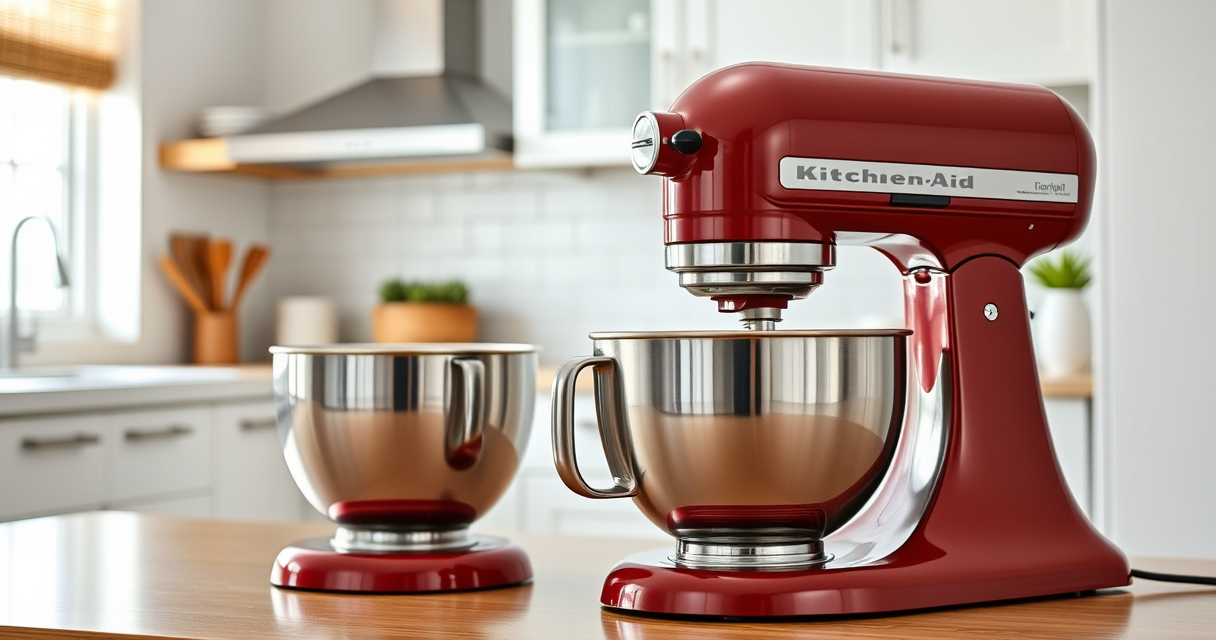
Cleaning your KitchenAid Artisan mixer regularly is essential to keep it running smoothly and extend its lifespan. Proper cleaning prevents buildup, maintains hygiene, and ensures your mixer performs at its best for all your baking needs.

Get home appliances delivered free — and shop member deals
- Fast, free delivery on millions of items
- Access to Prime Big Deal Days deals on October 6–7
- Prime Video, Amazon Music and more included
This guide provides practical, step-by-step instructions to clean your mixer safely and effectively, along with helpful tips and warnings to avoid common mistakes.
Gather Your Supplies
- Soft damp cloth
- Mild dish soap
- Cleaning brush or toothbrush
- Dry microfiber cloth
- Optional: Food-safe sanitizer
Unplug and Disassemble
- Ensure the mixer is unplugged from the power outlet.
- Remove the attachments such as the paddle, whisk, or dough hook.
- Take off the mixing bowl and set aside.
Clean the Attachments and Bowl
- Wash all removable parts with warm, soapy water.
- Use a soft brush or sponge to scrub away any residue.
- Rinse thoroughly and dry with a microfiber cloth.
Clean the Mixer Body
Wipe the exterior of the mixer with a damp cloth. Avoid using abrasive cleaners or submerging the mixer in water.
For stubborn spots, gently scrub with a soft brush dipped in soapy water, then wipe clean with a damp cloth and dry immediately.
Reassemble and Maintain
- Ensure all parts are completely dry before reassembling.
- Reattach the cleaned attachments and bowl.
- Plug in the mixer and run it briefly to check for proper operation.
Store your mixer in a clean, dry place when not in use to prevent dust and dirt buildup.
Products That Help

KitchenAid Stand Mixer Attachment
- ✔ Weight: 3.5 lbs
- ✔ Dimensions: 8 x 6 x 4 inches
- ✔ Warranty: 1 year
KitchenAid Stand Mixer Attachment
The KitchenAid Metal Food Grinder attachment is perfect for creating fresh, inventive foods. It connects seamlessly to your stand mixer, making food prep faster and more efficient. Regular cleaning of this attachment ensures smooth operation and prevents cross-contamination.
Pros:
- Easy to attach and detach
- Multiple grinding plates included
- Large food tray for bulk processing
- Dishwasher safe parts
Cons:
- Requires pre-chilling for best results
- Separate purchase from the mixer
- Cleaning may be slightly tedious
Best for: Grinding meats, vegetables, and nuts
Not ideal for: For pasta or baked goods
Bottom line: A durable, versatile grinder attachment perfect for fresh food prep.
Frequently Asked Questions
Can I put the attachments in the dishwasher?
Some attachments are dishwasher safe, but check the manufacturer’s instructions. Typically, metal parts can be washed in the dishwasher, but plastic components may need hand washing.
How often should I clean my KitchenAid mixer?
Clean your mixer after every use, especially if you use it for sticky or strong-smelling ingredients, to maintain hygiene and performance.
What should I do if the mixer is not turning on after cleaning?
Ensure it is properly plugged in and the power outlet is functional. Check for any visible damage or obstructions. If issues persist, consult the user manual or contact customer support.
Is it safe to submerge the mixer in water?
No, never submerge the motor housing or electrical parts in water. Only wash removable parts with water and wipe the exterior with a damp cloth.
Affiliate disclosure: As an Amazon Associate we earn from qualifying purchases. Prices and availability are accurate as of the time of publishing.
NFL season / tailgating Picks
team gear
As an affiliate, we earn on qualifying purchases.