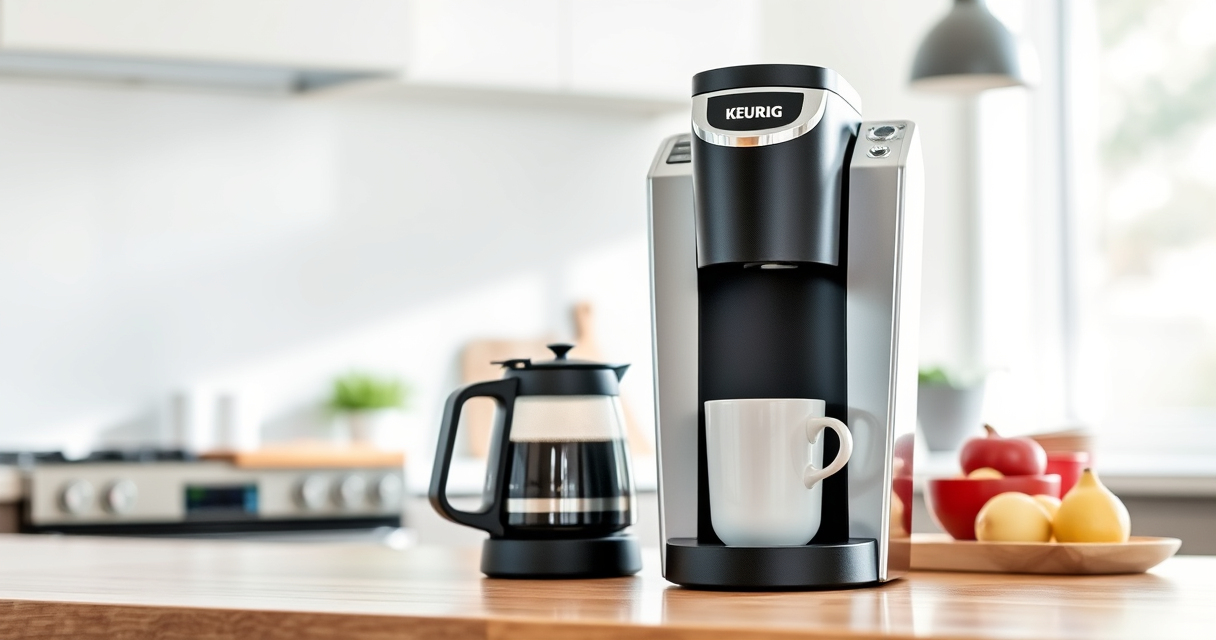
Setting up your new Keurig K-Mini is straightforward, but following the correct steps ensures optimal performance and safety. This guide walks you through the process from unboxing to brewing your first cup, with helpful tips to avoid common issues.

Get home appliances delivered free with Prime
- Fast, free delivery on millions of items
- Prime Video, Amazon Music and more included
- Member-only deals all year
Whether you’re a first-time Keurig user or upgrading your coffee station, proper setup guarantees fresh, delicious beverages every time.
Key Takeaways
| Compact Design | Fits small spaces with less than 5 inches width. |
| Adjustable Brew Size | Brew between 6-12oz for your preferred strength. |
| Easy Maintenance | Includes descaling and cleaning options. |
| Travel Friendly | Removable drip tray accommodates travel mugs. |
| Energy Efficient | Auto off feature saves power. |
Unboxing and Initial Inspection
- Remove the Keurig K-Mini from the box and check for any visible damage or loose parts.
- Ensure all included items are present: the coffee maker, power cord, and user manual.
- Place your K-Mini on a flat, stable surface near an electrical outlet.
Filling the Water Reservoir
Lift the water reservoir lid located at the back of the unit and pour fresh, clean water into the reservoir up to the MAX fill line. Remember, the K-Mini has a single cup reservoir, so add water for each brew to ensure freshness.
Powering On and Prepping
- Plug the power cord into an outlet and press the power button if available.
- The auto off feature activates 90 seconds after brewing, so no need to turn it off manually.
- Place a mug on the removable drip tray, ensuring it doesn’t exceed 7 inches tall.
Brewing Your First Cup
- Insert a K-Cup pod into the pod holder, or use a reusable My K-Cup filter for ground coffee.
- Select your desired brew size—6, 8, 10, or 12 ounces—by adjusting the brew size button or dial.
- Press the brew button and wait for the coffee to dispense into your mug.
Cleaning and Maintenance Tips
- Regularly descale your K-Mini every 3-6 months using a descaling solution to prevent mineral buildup.
- Use the rinse pods included in the maintenance kit to clear flavor carry-over and residues.
- Remove and wash the drip tray and water reservoir periodically.
The Products in This Guide

Keurig K-Mini Single Serve K-Cup Pod Coffee Maker
- ✔ Weight: 4.5 lbs
- ✔ Color: Black
- ✔ Warranty: 1-year limited

My K-Cup® Reusable Coffee Filter
- ✔ Weight: 2 oz
- ✔ Color: Black
- ✔ Warranty: NA
Keurig K-Mini Single Serve K-Cup Pod Coffee Maker
The Keurig K-Mini is an excellent choice for small spaces, offering quick brewing with minimal setup. Its simple design and features make it perfect for everyday use, whether at home or in the office.
Pros:
- Fits small spaces
- Brews in minutes
- Adjustable brew size
- Travel mug friendly
Cons:
- No water level indicator
- Limited to 12oz max brew size
- No advanced programming features
Best for: Individuals with limited counter space who want quick, convenient coffee.
Not ideal for: Users looking for programmable features or larger capacity.
Bottom line: A compact and dependable coffee maker ideal for small spaces.
My K-Cup® Reusable Coffee Filter
The My K-Cup reusable coffee filter allows you to brew your favorite ground coffee with the Keurig K-Mini, providing flexibility and cost savings while maintaining great flavor.
Pros:
- Customizable coffee blends
- Cost-effective
- Easy to clean
- Compatible with Keurig K-Mini
Cons:
- Requires ground coffee
- Clogs if not used properly
- Requires cleaning after use
Best for: Coffee enthusiasts who prefer ground coffee over pods.
Not ideal for: Users seeking convenience with pre-packaged pods.
Bottom line: A versatile reusable filter that enhances your brewing options.
Frequently Asked Questions
How do I descale my Keurig K-Mini?
Use a descaling solution or white vinegar with water in the reservoir, then run a brew cycle without a K-Cup. Follow with a rinse cycle to remove residues.
Can I use ground coffee instead of K-Cups?
Yes, with the My K-Cup reusable filter, you can brew ground coffee directly in your Keurig K-Mini.
Why is my coffee maker not turning on?
Ensure the power cord is securely plugged into a functioning outlet. Check the power button and reset if necessary.
How often should I clean my Keurig?
Descale every 3-6 months and clean removable parts weekly to maintain optimal performance.
Enjoy Your Perfect Brew with Confidence
Now that your Keurig K-Mini is set up and ready, you can enjoy fresh coffee with minimal effort. Regular maintenance and proper setup ensure your machine stays in top condition, providing delicious beverages for years to come.
Remember to clean and descale as recommended, and explore reusable filters for personalized coffee options. Happy brewing!
Affiliate disclosure: As an Amazon Associate we earn from qualifying purchases. Prices and availability are accurate as of the time of publishing.
Fall yard work Picks
leaf blowers
As an affiliate, we earn on qualifying purchases.