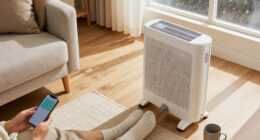
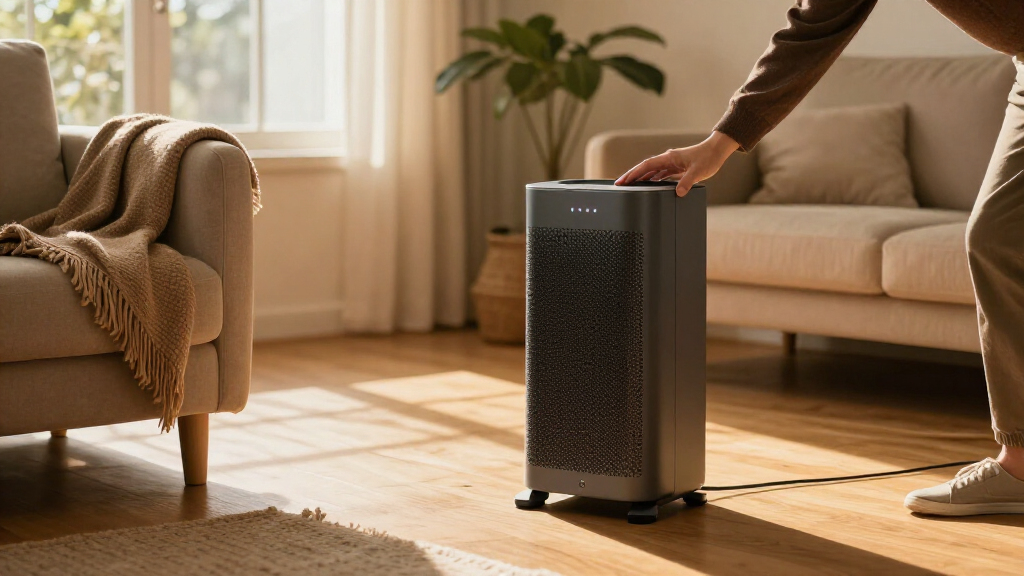

Set up a smart space heater so you can control its temperature, schedule, and power from its app or compatible voice assistant. This guide is for first-time owners who can use a smartphone and home Wi-Fi. Allow 30–45 minutes, including time for the heater to connect and any firmware update to finish.

Get home appliances delivered free with Prime
- Fast, free delivery on millions of items
- Prime Video, Amazon Music and more included
- Member-only deals all year

FLANUR Smart Space Heater for Indoor Use – Large Room, 1500W
- ✔ Power: 1500 W
- ✔ Coverage: Up to 300 sq ft
- ✔ Noise: 23 dB at lowest mode

FLANUR 1500W Smart Space Heater – Black
- ✔ Power: 1500 W
- ✔ Voltage and current: 120 V; 12.5 A
- ✔ Coverage: 160–200 sq ft

Nutromo Space Heater with WiFi/App – Portable Electric Heater for Office
- ✔ Power: 1500 W
- ✔ Oscillation: 90°
- ✔ Temperature range: 41–95°F
Difficulty: Beginner | Time: 30-45 minutes
What You’ll Need
Tools & Materials:
- Smart space heater with its power cord and included instructions
- Smartphone or tablet with the heater maker’s app installed
- Home Wi-Fi network and its password
- Clear, level floor space near a suitable wall outlet
Knowledge:
- Basic smartphone and app use
- Access to the home Wi-Fi network settings or password
Read the heater’s manual before plugging it in. Follow its instructions for clearances, outlet requirements, and permitted use. Do not use an extension cord, power strip, or outlet controlled by a dimmer or smart plug unless the heater’s manufacturer explicitly approves it. Keep the heater away from water, curtains, bedding, furniture, and walkways.
FLANUR Smart Space Heater for Indoor Use – Large Room, 1500W
For buyers prioritizing stated coverage, the FLANUR Large Room Tower leads this group. Its claimed reach of up to 300 square feet is greater than the Black FLANUR’s 160–200-square-foot range, and the tower shape is designed to distribute heat through 70-degree oscillation. It also has a reported lowest-mode noise level of 23 dB, lower than the Black model’s 36 dB figure, which may matter in a bedroom or quiet work area. Both FLANUR heaters provide app, Alexa and Google Assistant control, so the larger model’s advantage is its room-size claim and quieter stated low setting.There are practical limits to weigh against those advantages. The 29-inch height and 200-by-200-millimeter footprint may be awkward in a cramped room, and the listed 12.5-amp draw deserves attention when choosing an outlet and circuit. It has tip-over and overheat protection, child lock and auto shut-off, but buyers should confirm the timer and shut-off settings that fit their routine. We’d choose it for a larger room where its coverage claim is useful; for a more compact zone, the Black FLANUR is easier to justify, while Nutromo offers a broader sweep angle.
Pros:
- Coverage stated up to 300 square feet
- 23 dB lowest-mode noise claim
- Wi-Fi app, Alexa and Google Assistant control
- Tip-over protection, overheat protection and child lock
Cons:
- Tall tower may feel bulky in smaller rooms
- 1500-watt, 12.5-amp draw calls for attention to circuit use
- No physical remote is listed
Best for: People seeking a Wi-Fi controlled tower heater for a larger room who value a low-noise setting and 70-degree oscillation.
Not ideal for: Buyers with very limited floor space, uncertain circuit capacity, or a need for a physical remote.
Bottom line: We rank it first for its combination of the lineup’s largest stated coverage and lowest listed low-mode noise, provided the room can accommodate its tower form and electrical draw.
“We rank it first for its combination of the lineup’s largest stated coverage and lowest listed low-mode noise, provided the room can accommodate its tower form and electrical draw.”
FLANUR 1500W Smart Space Heater – Black
The Black FLANUR is the more focused choice for a smaller room or heating zone. Its stated coverage is 160–200 square feet, a more modest target than the Large Room tower’s claim of up to 300 square feet. That smaller range may be a better match for an office or bedroom where the larger model’s tower size is unnecessary. The heater still provides app and voice control, 70-degree oscillation and a reported 36 dB operating level, giving it the same broad smart-control approach as its larger FLANUR counterpart.Its feature list is particularly clear about safety: overheat shut-off, tip-over detection, child lock, dual fuses and a 24-hour auto shut-off are all specified. High, low, ECO and fan-only modes let us choose between direct warmth and less intensive operation. The tradeoff is that its noise figure is above the Large Room FLANUR’s stated 23 dB, and no physical remote is included. It also requires 2.4 GHz Wi-Fi and is not recommended for soft carpets or bathrooms. Compared with Nutromo, it gives buyers a defined coverage range and more detailed safety information, but it lacks Nutromo’s wider 90-degree oscillation.
Pros:
- Stated coverage of 160–200 square feet
- High, low, ECO and fan-only modes
- App, Alexa and Google Assistant control
- Detailed safety package including dual fuses and 24-hour shut-off
Cons:
- 36 dB listed noise level is higher than the Large Room FLANUR’s low-mode figure
- No physical remote control included
- Requires 2.4 GHz Wi-Fi and is not recommended for soft carpets or bathrooms
Best for: Buyers who want app and voice controls for a modest-sized room and value a detailed list of safety protections.
Not ideal for: People who need a physical remote, wider-than-70-degree airflow, or a heater suited to soft carpet or bathroom use.
Bottom line: We recommend it for a smaller, suitable indoor area where its explicit safety features and app control matter more than maximum coverage or the quietest listed mode.
“We recommend it for a smaller, suitable indoor area where its explicit safety features and app control matter more than maximum coverage or the quietest listed mode.”
Nutromo Space Heater with WiFi/App – Portable Electric Heater for Office
Nutromo’s clearest point of difference is its 90-degree oscillation, a broader sweep than the 70-degree movement listed for either FLANUR. In a room where warmth needs to move across a wider span, that angle could be more useful than the FLANUR models’ more clearly defined coverage and noise specifications. Nutromo also combines Wi-Fi app control with Alexa and Google Assistant, and its ECO mode adjusts output to manage heating demand. A fan mode adds seasonal flexibility, although the available details do not establish how its airflow compares with a dedicated cooling appliance.Those flexible features come with less information for a direct buying decision. Nutromo has no stated room coverage, noise figure, timer or detailed safety list in the supplied specifications. Its product description warns that the fan can become noticeable at higher speeds, while the tower form may be bulky in a small office. The Large Room FLANUR is easier to assess for a larger space because it states coverage up to 300 square feet and gives a low-mode noise figure; the Black FLANUR also supplies a defined coverage range and more detailed protections. We’d choose Nutromo when wide oscillation and app control take priority, after checking its placement and safety instructions.
Pros:
- 90-degree oscillation, widest in this comparison
- Wi-Fi app, Alexa and Google Assistant control
- ECO mode adjusts heating output
- Heating and fan modes offer seasonal flexibility
Cons:
- No coverage area or noise figure is specified
- Higher fan speeds may be noticeable
- Tower design may occupy too much space in a small room
Best for: Buyers who want a smart tower heater with wider oscillation and a fan mode for flexible indoor use.
Not ideal for: People who need a stated coverage area, quantified noise level, timer details or a full safety specification before choosing.
Bottom line: We see it as a specialized pick for broad airflow and smart controls, but buyers who need detailed coverage and safety specifications have clearer information from either FLANUR model.
“We see it as a specialized pick for broad airflow and smart controls, but buyers who need detailed coverage and safety specifications have clearer information from either FLANUR model.”
As an Amazon Associate we earn from qualifying purchases.
Before You Start
Check the heater’s label and manual for electrical requirements and required clearances. Put it on a stable, level, hard surface where air can circulate freely and where children or pets cannot knock it over. Use a wall outlet that meets the manufacturer’s instructions. Do not place the heater in a bathroom, outdoors, or another damp area unless the manual explicitly permits that location.
Check whether your Wi-Fi router broadcasts a 2.4 GHz network. Some heaters cannot connect to a 5 GHz network or to certain combined network names. Keep your phone connected to the home network during setup, and grant the app only the permissions it needs to discover and control the heater.
Step-by-Step Instructions
Step 1: Choose a safe location
Set the heater upright on a level, nonflammable surface near a wall outlet that meets the manual’s requirements. Leave the specified clearance on every side and above the unit. Keep it clear of curtains, furniture, bedding, paper, clothing, water, and foot traffic.
Tip:Do not cover the heater or use it to dry clothes. Keep its cord visible and away from hot surfaces and places where it can be tripped over.
Check: The heater stands securely, its air intake and outlet are unobstructed, and the cord reaches the wall outlet without tension.
Step 2: Plug in and test the heater
With the heater switched off, plug it directly into the approved wall outlet. Turn it on using the unit’s physical controls and select a low heat setting. Confirm that the display and controls work, then switch the heater off before app setup.
Tip:Stop if the plug or outlet feels unusually hot, the breaker trips, or you notice a burning smell, smoke, or unusual noise. Unplug the unit if it is safe to do so and follow the manual’s support instructions.
Check: The heater starts and stops using its own controls, with no warning lights, unusual odors, or electrical interruptions.
Step 3: Install the heater’s app
Find the manufacturer’s app using the name or QR code in the manual, then install it from your phone’s official app store. Open it and sign in or create an account if the app requires one. Allow Bluetooth, local network, or location access only as requested for device discovery and setup.
Tip:Use the app named in the manual; third-party apps with similar names may not support your model.
Check: The app opens, and you can reach its screen for adding a device.
Step 4: Connect the heater to Wi-Fi
In the app, choose the option to add a device and select the heater’s model or matching device category. Put the heater into pairing mode using the button sequence in its manual. Follow the app prompts to select your home Wi-Fi and enter its password.
Tip:If the heater requires 2.4 GHz Wi-Fi, connect your phone to that network during pairing. Enter the password carefully; uppercase letters and symbols matter.
Check: The app shows the heater as connected or online, and the heater’s Wi-Fi indicator matches the manual’s connected state.
Step 5: Update and name the heater
Complete any firmware update offered by the app before changing settings. Keep the heater powered and the phone nearby until the update finishes. Then give the device a clear name, such as “Living room heater,” so you can identify it when setting schedules or voice commands.
Tip:Do not unplug the heater or close the app during an update. If progress appears stuck, check the app’s instructions before restarting the device.
Check: The app shows the device online with the selected name and no pending update message.
Step 6: Set temperature and safety controls
Open the heater’s control screen and choose a modest target temperature. Review available options such as overheat protection, tip-over shutoff, child lock, and auto-off. Enable the safety features you need, and check the manual to understand what each feature does.
Tip:Do not rely on the app as a substitute for the heater’s built-in safety features or supervision. Keep the heater off when you leave home or go to sleep unless the manufacturer specifically rates the model for that use and its instructions allow it.
Check: The app displays the target temperature and the safety settings you selected.
Step 7: Test app and manual control
From the app, switch the heater on briefly at a low setting, then switch it off. Check that the physical controls still work as described in the manual. If the app offers remote control, test it while your phone is on the home network; test away-from-home access only if you need that feature.
Tip:Some models disable remote control while a child lock or local-only mode is active. Check the manual before changing a safety setting to make remote access work.
Check: The app status changes when you send a command, and the heater responds. The manual controls remain usable as described by the manufacturer.
Step 8: Create a schedule if needed
Open the schedule or timer feature and set the days, start time, stop time, and temperature for each heating period. Review whether the schedule uses your phone’s time zone, the heater’s local clock, or a home/away setting. Save it, then check that it appears in the app.
Tip:Start with a short, near-term schedule to confirm the timing before setting a week of routines. Avoid schedules that could run when the room is unattended if your heater’s instructions do not permit unattended operation.
Check: The schedule appears with the correct days, times, and target temperature. The app indicates when the next heating period will begin.
Common Mistakes to Avoid
- Placing the heater too close to fabric, furniture, or other objects. — Follow the manual’s clearance distances and keep the air intake and outlet clear whenever the heater is on.
- Trying to pair on a Wi-Fi band the heater does not support. — Check the manual for network requirements and use the required band, often 2.4 GHz, during setup.
- Using a power strip, extension cord, or smart plug without approval. — Plug the heater directly into an outlet that meets its instructions; use an accessory only if the manufacturer explicitly approves it.
- Setting a schedule without checking when the heater will run. — Review each day and start/stop time in the app, and test a short schedule before relying on a longer routine.
Troubleshooting
Problem: The app cannot find the heater.
Solution: Confirm that the heater is powered and in pairing mode using the manual’s button sequence. Turn on the requested phone permissions, keep the phone near the heater, and retry device discovery.
Problem: Wi-Fi setup fails or the heater appears offline.
Solution: Recheck the network password and supported Wi-Fi band. Move the heater or router closer during setup, then restart pairing according to the manual. If your router combines bands under one network name, check its settings or ask the router administrator for a compatible setup option.
Problem: The app says the heater is on, but it is not heating.
Solution: Check the physical power switch, selected mode, target temperature, and any timer or child lock. Confirm that the outlet works and review the heater’s indicator lights and manual for an overheat or tip-over shutdown.
Problem: A schedule starts at the wrong time.
Solution: Check the app’s time zone, the heater’s clock, selected days, and daylight-saving settings if available. Edit and save the schedule, then verify the next run time in the app.
What Success Looks Like
The heater is stable in a clear location and plugged directly into an approved outlet. The app shows the named device online, displays the chosen temperature and safety settings, and can switch the heater on and off. Any schedule appears with the intended days and times. During a supervised low-setting run, the heater operates without warning indicators, unusual smells, or electrical interruptions.
Next Steps
Keep the manual and app account details available, check the heater and cord periodically for damage, and remove dust only as the manufacturer directs with the unit unplugged and cool. Review schedules after travel, router changes, or daylight-saving time adjustments. If the heater repeatedly loses power, overheats, trips a breaker, or shows a fault code, stop using it and contact the manufacturer or a qualified electrician as directed by the manual.
Frequently Asked Questions
Can I use a smart plug with a smart space heater?
Only if the heater’s manufacturer explicitly permits it and the plug is rated for the heater’s electrical load. Many heater manuals prohibit smart plugs, extension cords, and power strips. Follow the heater’s instructions.
Does the heater need 2.4 GHz Wi-Fi?
It depends on the model. Check the manual or app setup screen for supported bands. If the heater requires 2.4 GHz, connect your phone to that network while pairing.
Can I leave a smart space heater running when I am away?
Follow the manual’s rules for unattended operation. App control and scheduling do not make a heater safe to leave on if the manufacturer says to supervise it. Keep the area clear and use built-in safety features as instructed.
Why does the app show the heater offline when the heater still works?
The heater may have lost Wi-Fi while its local controls remain available. Check power and router status, confirm the network credentials have not changed, and reconnect through the app using the manual’s pairing steps.