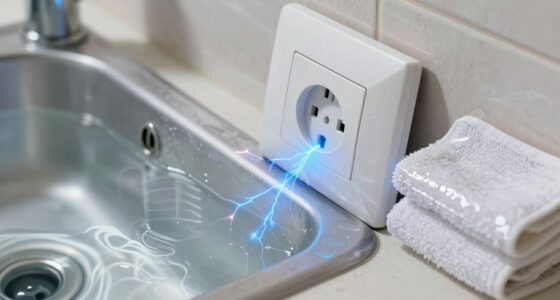

Proper UV placement is essential because even a small misalignment can greatly reduce disinfection results. Ensuring the UV system is at the right height, angle, and free from obstructions helps the UV light reach all surfaces directly. Shadows or poor positioning can leave areas unsterilized. If you want to maximize germ-killing power and learn how to perfect your setup, there’s more to discover that can make a real difference.
Key Takeaways
- Proper UV placement ensures maximum direct exposure, reducing shadowed areas and improving sterilization effectiveness.
- Correct installation height and angle optimize UV reach and prevent weak spots or damage.
- Strategic positioning considers space layout, airflow, and reflective surfaces for comprehensive coverage.
- Avoiding obstructions and maintaining proper mounting distance enhances UV light distribution.
- Regular adjustments and maintenance sustain optimal germicidal performance and prevent coverage gaps.
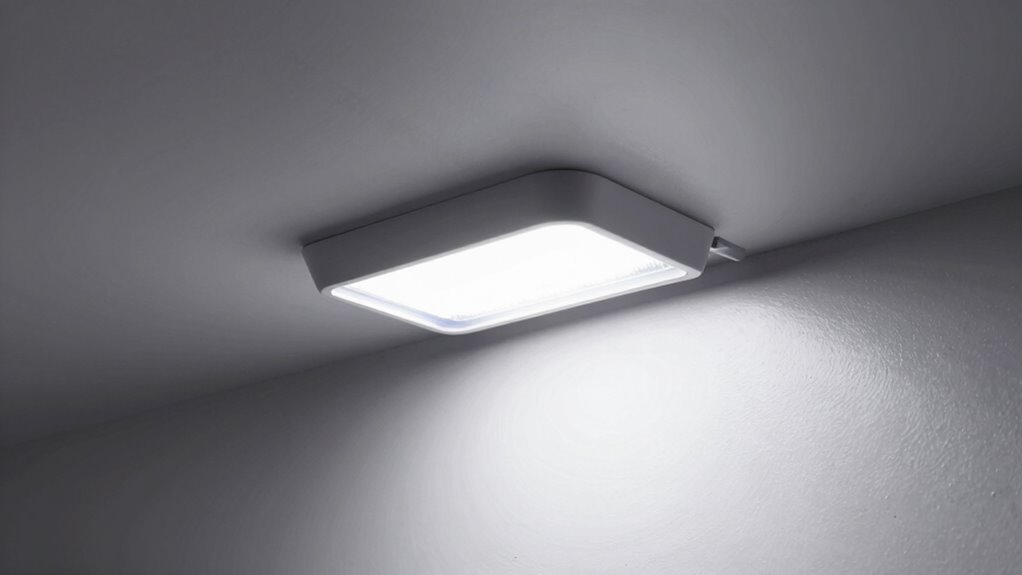
Why Proper UV Placement Is Essential for Effective Disinfection
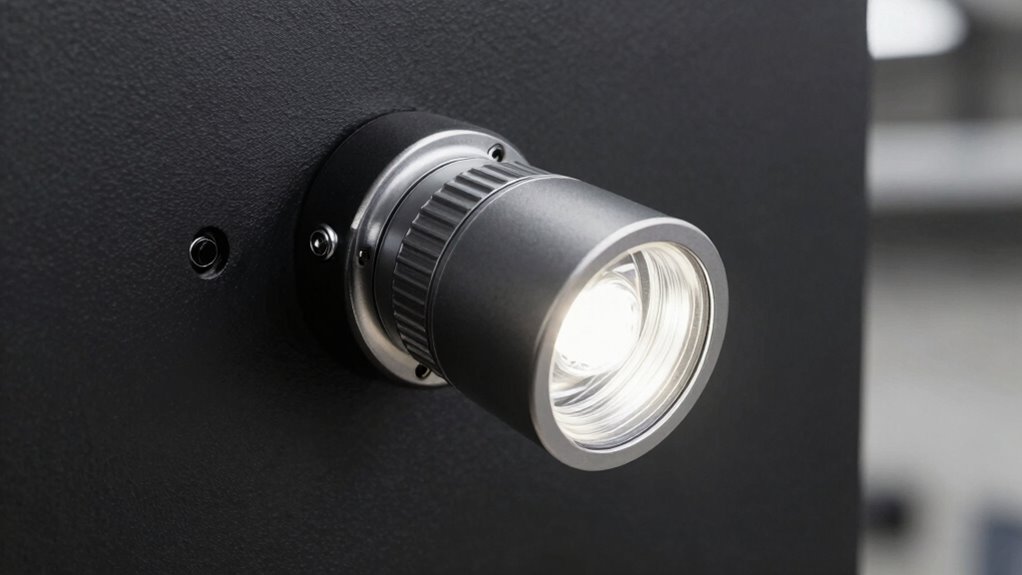
Proper UV placement is crucial because even a small misalignment can considerably reduce the effectiveness of disinfection. The UV wavelength needs to be correctly targeted to guarantee maximum germ-killing power. If the UV source isn’t positioned at the right installation height, the emitted UV light may not reach surfaces effectively, creating shadowed areas where germs can survive. Placing the UV device too high or too low can weaken its disinfection ability, wasting your effort and resources. To maximize effectiveness, you must consider the specific UV wavelength required for your space and adjust the installation height accordingly. Proper placement ensures the UV light covers the intended surfaces directly, providing reliable sterilization and reducing the risk of microbial survival. Correct UV positioning ensures optimal pathogen elimination and maximizes the safety benefits of your UV device. Additionally, understanding UV light coverage helps in planning the most effective setup for your environment. Achieving proper installation techniques is essential for consistent disinfection results across different settings. Ensuring consistent UV application also depends on precise placement, which can help prevent areas of shadowing and ensure comprehensive sterilization. Moreover, using accurate placement techniques can help optimize the overall lifespan and performance of your UV device.
How to Assess Your Space for UV System Placement

Before installing a UV disinfection system, you need to carefully evaluate your space to determine the most suitable placement. Start by identifying areas where UV light can directly target surfaces or air without risking UV safety. Use appropriate installation tools to measure distances and barriers. Consider airflow, obstructions, and reflective surfaces that could impact UV effectiveness. Proper assessment ensures ideal disinfection while maintaining safety standards. Additionally, understanding the importance of home organization can help you plan the space efficiently for optimal UV placement. Good calibration of your system can further improve its performance and safety. Proper market knowledge can also assist in selecting the best UV system for your needs. Being aware of UV safety standards is essential to prevent accidental exposure and ensure effective use. It’s also helpful to evaluate the installation environment to accommodate future adjustments or upgrades. Below is a visual guide to help you evaluate potential locations:
| Area to Assess | Key Factors | Questions to Ask |
|---|---|---|
| Near air vents | Airflow, exposure | Will UV reach all airflow? |
| Ceiling height | Accessibility, safety | Is it out of reach of people? |
| Surface proximity | Surface type, reflection | Will UV directly target surfaces? |
| Obstructions | Furniture, fixtures | Are there barriers blocking UV? |
| Power sources | Installation tools needed | Are outlets nearby? |
Common Placement Mistakes That Reduce UV Effectiveness
Many common placement mistakes can substantially diminish the effectiveness of your UV disinfection system. One major error is improper UV lamp placement, which can create shadows or uneven coverage. If the lamp isn’t positioned correctly, areas may not receive sufficient UV exposure, reducing sterilization. Avoid placing the UV lamp too close to surfaces, as this can cause hot spots or damage. Conversely, placing it too far away decreases UV intensity and limits effectiveness. Remember, placement errors often stem from neglecting the room’s layout and airflow patterns. Ensuring the UV lamp is positioned for ideal exposure and minimal shadowing is essential. Poor placement can lead to ineffective disinfection, making your investment less worthwhile and leaving you vulnerable to contamination. Additionally, considering the airflow patterns within a room can help optimize UV distribution and improve overall sterilization results. To achieve consistent results, it’s crucial to understand the room’s layout and how air moves, as this directly impacts UV effectiveness. Proper understanding of UV light dispersion can significantly enhance the uniformity of sterilization. Moreover, taking into account environmental factors can help refine placement strategies for better outcomes. Recognizing the importance of adequate exposure time also plays a critical role in ensuring thorough disinfection.
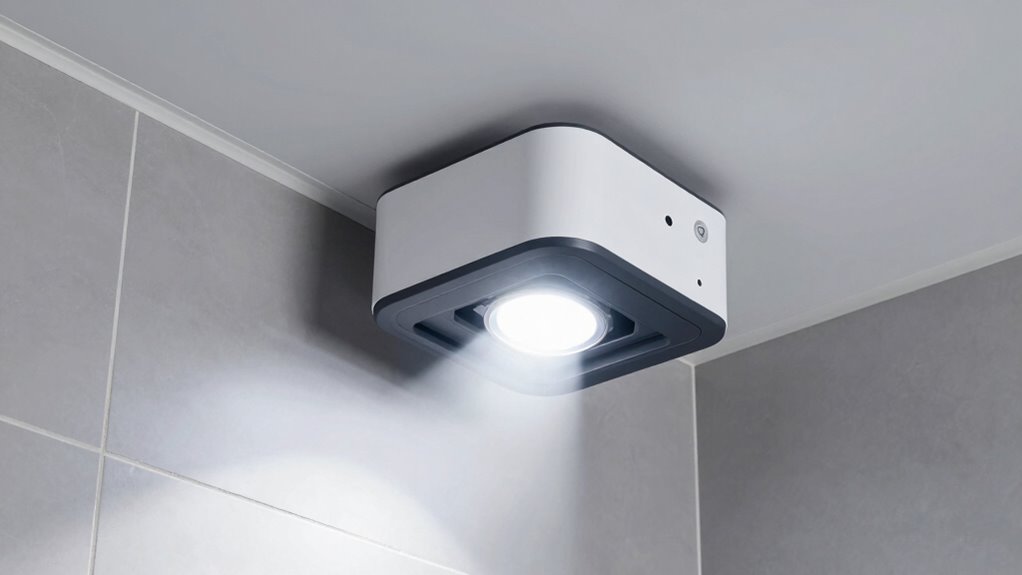
How to Position Your UV Disinfection System for Best Results
To get the most out of your UV disinfection system, you need to position it carefully for maximum coverage. Make sure it’s placed where UV light can reach all surfaces without being blocked by shadows or obstructions. Proper placement guarantees you achieve the best disinfection results every time. Correct placement ensures that the UV light effectively covers all areas and surfaces needing disinfection. Additionally, understanding the airflow patterns within your space can help optimize UV light exposure for comprehensive purification. Considering UV light penetration can further enhance the effectiveness of your system by ensuring UV reaches hidden or shadowed areas. Employing sound masking techniques can also improve the system’s performance by reducing interference from ambient noise, ensuring consistent operation. Furthermore, analyzing your space layout can assist in determining the optimal positioning for your UV system to maximize coverage and efficiency.
Optimal Placement Strategies
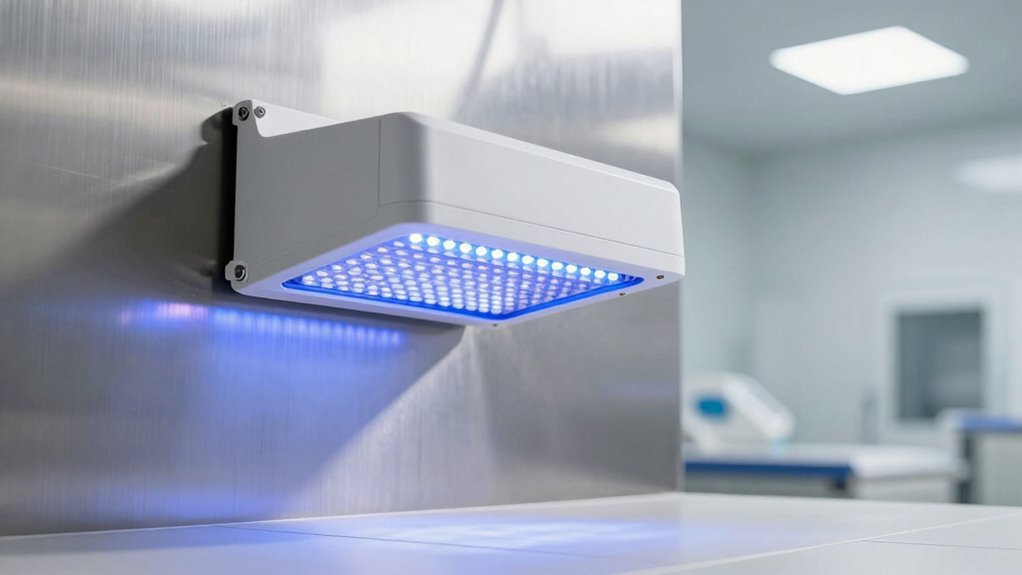
Proper placement of your UV disinfection system is essential to maximize its effectiveness. To do this, focus on the UV wavelength your system uses, typically around 254 nm for germicidal action. Confirm the UV source is positioned at an ideal installation height—usually at or just above the targeted surface or air stream. This placement ensures the UV light evenly covers the area without unnecessary obstructions. Keep the UV lamp close enough to deliver a strong dose but avoid direct exposure to people, which can be harmful. Adjusting the system’s height and angle helps prevent shadowing and maximizes UV exposure. Proper placement ensures your system delivers maximum germicidal efficiency, reducing pathogens effectively and reliably.
Avoid Shadowing and Obstructions
Shadowing can critically reduce the effectiveness of your UV disinfection system, so it’s essential to position the lamp where it has an unobstructed line of sight to the target area. Shadow interference and obstruction avoidance are key to maximizing UV exposure. Place the UV lamp where furniture, equipment, or structural features won’t block UV rays. Use strategic angles to minimize shadowed zones and ensure direct UV contact with surfaces. Regularly check for potential obstructions and adjust placement as needed. Here’s a quick guide:
| Obstruction Type | Placement Tip | Common Obstacle |
|---|---|---|
| Furniture | Keep UV source above furniture | Chairs, tables |
| Equipment | Avoid blocking with large gear | Machinery, monitors |
| Structural | Use side angles for coverage | Walls, pillars |
| Moving Items | Reposition regularly | Supplies, carts |
Additionally, understanding the placement of the UV system can significantly improve its disinfection results by reducing shadowed areas. Proper installation techniques are crucial for optimal performance. Ensuring the UV system is installed with proper positioning can make a substantial difference in achieving maximum disinfection coverage.
Adjusting UV Lamp Angles to Maximize Germicidal Power

Adjusting the angles of your UV lamps can markedly boost their germicidal effectiveness. Proper UV lamp angulation ensures the UV light hits surfaces directly, maximizing exposure to pathogens. Experiment with tilting or rotating your lamps to find the ideal angle that minimizes shadowed areas. Reflective surfaces play a vital role in this process—they bounce UV light around the space, enhancing coverage and intensity. By angling your lamps strategically, you help direct UV energy where it’s needed most, reducing dead zones. Keep in mind that the goal is to achieve even, thorough illumination. Regularly adjusting the UV lamp angles and utilizing reflective surfaces can greatly improve your germicidal results, making your UV system more efficient and effective at sanitizing your environment.
How Placement Affects UV Intensity and Coverage
The placement of your UV lamps directly influences the intensity and coverage of the germicidal UV light. Proper positioning guarantees maximum exposure, while poor placement causes uneven results. Surface reflection can help bounce UV light into shadowed areas, boosting coverage. Conversely, ambient interference, like dust or objects blocking the path, diminishes effectiveness. To visualize this, consider the following:
| UV Lamp Position | Resulting Intensity and Coverage |
|---|---|
| Direct, unobstructed | High intensity, even coverage |
| Surrounded by reflective surfaces | Increased reach, minimized shadows |
| Blocked by objects | Reduced germicidal power |
| Facing cluttered areas | Uneven distribution, weak spots |
Adjust placement thoughtfully to optimize surface reflection and minimize ambient interference, ensuring your UV system works at full strength.
Troubleshooting Placement Problems for Consistent Results

When UV lamps aren’t positioned correctly, you’ll notice uneven germicidal coverage and inconsistent results. These issues often stem from installation errors that cause the UV light to miss key areas or produce weak intensity. To troubleshoot, start by inspecting the placement of your UV lamps, ensuring they’re aligned according to manufacturer guidelines. Check for obstructions that block UV light or cause shadows, reducing effectiveness. Confirm that the lamps are mounted at the correct distance and angle, as improper positioning diminishes germicidal performance. If coverage is uneven, reposition the lamps to target problem zones directly. Regularly verify that all connections are secure and that the UV light is functioning at ideal intensity. Correcting these installation errors will help you achieve consistent, reliable disinfection results.
Tips to Maintain Proper UV System Placement Over Time

Maintaining proper UV system placement over time requires regular checks to guarantee the lamps remain correctly positioned and unobstructed. Consistent maintenance routines help guarantee ideal UV safety and system efficiency. Inspect your system monthly to verify that lamps haven’t shifted or become dirty, which can reduce effectiveness. Keep a schedule for cleaning and replacing lamps to prevent buildup that obstructs UV output. Use the following checklist:
| Inspection Area | Action Needed | Frequency |
|---|---|---|
| Lamp Position | Adjust if displaced | Monthly |
| Obstructions | Clear debris or buildup | Weekly |
| UV Safety Measures | Confirm protective covers | Monthly |
| System Housing | Check for damage | Quarterly |
| Overall Alignment | Recalibrate if necessary | Annually |
Adhering to these tips helps maintain correct placement, ensuring UV safety and consistent results.
Frequently Asked Questions
How Often Should UV System Placement Be Re-Evaluated?
You should re-evaluate your UV system placement during regular UV maintenance, ideally every 6 to 12 months. This guarantees your UV placement remains optimized for maximum effectiveness. Factors like changes in your environment or system performance can affect placement, so stay vigilant. Consistent placement optimization helps maintain clean air or water quality, and timely re-evaluation ensures the UV system continues to operate at peak efficiency.
Can Movable UV Systems Maintain Optimal Placement?
Think of a movable UV system as a skilled dancer adjusting to the rhythm. Yes, it can maintain ideal placement if you regularly calibrate the UV system and monitor the UV bulb lifespan. Like a dancer staying in sync, you need consistent checks to guarantee UV intensity and coverage are precise. Proper calibration keeps the system effective, even when moved, preventing performance dips and ensuring continuous air or surface disinfection.
What Environmental Factors Influence UV Placement Effectiveness?
Environmental factors like air circulation and humidity considerably influence UV light effectiveness. You should guarantee good air circulation, as stagnant air can reduce UV exposure and pathogen inactivation. High humidity levels may also diminish UV efficiency, so controlling moisture helps maintain ideal performance. You can enhance UV placement by considering these factors, ensuring that the UV light effectively reaches air and surfaces for maximum disinfection.
Are There Industry Standards for UV Installation Height?
Did you know that proper UV installation height can increase pathogen inactivation efficiency by up to 50%? Industry standards and installation guidelines recommend placing UV units at specific heights, typically around 7-8 feet above the floor, to maximize effectiveness. Following these standards guarantees ideal disinfection and safety. You should always adhere to manufacturer instructions and local regulations to achieve the best results and maintain compliance.
How Does UV Placement Differ Between Indoor and Outdoor Settings?
You should modify UV placement based on indoor or outdoor settings to optimize airflow patterns and surface disinfection. Indoors, position UV lights where airflow circulates, targeting high-touch surfaces and air pathways for effective disinfection. Outdoors, guarantee UV devices are placed away from direct sunlight and obstructions, focusing on areas with poor airflow. Proper placement maximizes surface disinfection and maintains safe, effective UV operation in both environments.
Conclusion
Mastering proper UV placement maximizes disinfection, minimizing mistakes and maximizing results. By paying close attention to positioning, angles, and coverage, you prevent pitfalls and promote powerful, persistent protection. Consistent checks and careful calibration keep your system functioning flawlessly, fostering a safer, cleaner space. Remember, precise placement proves pivotal—perfect positioning produces potent, persistent protection, ensuring your UV system’s ultimate efficacy and your peace of mind.