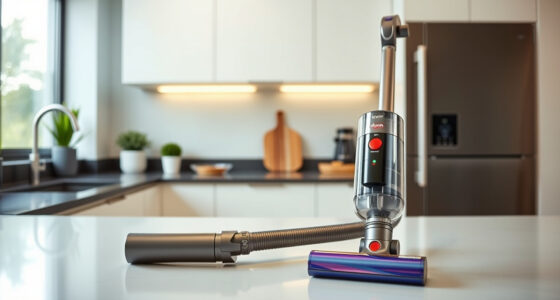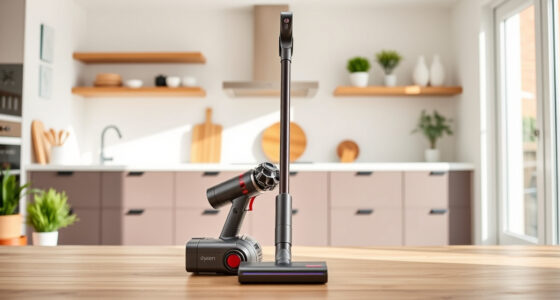
Getting your new Dyson V15 Detect™ Origin Cordless Vacuum ready for use is straightforward but requires attention to detail to ensure safety, optimal performance, and longevity of your device. This guide provides clear, step-by-step instructions to help you set up your vacuum efficiently, along with useful tips and precautions.

Get home appliances delivered free with Prime
- Fast, free delivery on millions of items
- Prime Video, Amazon Music and more included
- Member-only deals all year
Whether you’re new to Dyson cordless vacuums or upgrading from an older model, following these instructions will ensure you get the most out of your device from the start.
Key Takeaways
| Powerful and intelligent cleaning | Reveals invisible dust and adapts power based on debris. |
| Long-lasting battery life | Offers up to 60 minutes of runtime for thorough cleaning. |
| Easy setup process | Simple assembly and initial configuration steps. |
| Maintain optimal performance | Regular cleaning and filter replacement are essential. |
Unpack and Inspect Your Dyson V15 Detect™ Origin
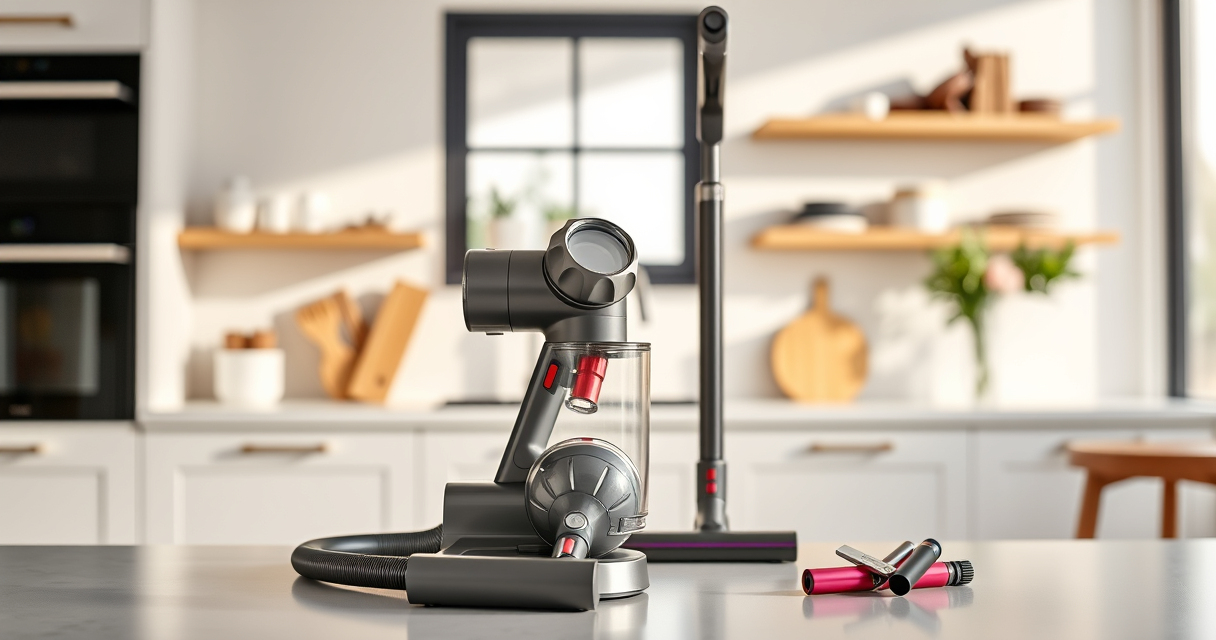
- Carefully remove your Dyson V15 Detect™ Origin from the packaging, ensuring all components are included: main body, cleaner heads, crevice tool, charger, and any additional accessories.
- Inspect each part for any visible damage or missing pieces. Refer to the included manual or product list to verify all parts are present.
Charge Your Vacuum Fully Before First Use
Connect the charger to the main body of the vacuum and plug it into a suitable power outlet. Allow the battery to charge fully, which typically takes around 3.5 hours for a complete charge. A fully charged battery ensures maximum runtime and performance.
During charging, the LCD screen will display the current charge level; once fully charged, the indicator will show 100%. Avoid unplugging or disconnecting the charger prematurely to prevent incomplete charging cycles.
Assemble the Vacuum Components
- Attach the desired cleaner head (either the Fluffy Optic or the Digital Motorbar) to the main body by aligning the connection points and pushing until it clicks securely.
- If you plan to use the vacuum as a handheld, detach the wand if attached, then connect the cleaner head directly to the main body or use the crevice tool for tight spaces.
- Attach the crevice tool or other accessories as needed for specific cleaning tasks.
Perform Initial Power-On and Settings Check
Press the power trigger to turn on the vacuum. The LCD screen will display the current power mode, remaining run time, and any maintenance alerts. Ensure the device powers on properly and that the LCD responds as expected.
Adjust the power mode if needed, using the controls on the handle, depending on your cleaning needs. Review the screen for any alerts or notifications that might require attention before starting your cleaning session.
Set Up and Use the Filters and Attachments
Install the pre-filters or replacement filters if necessary, following the instructions for easy installation. Regular filter maintenance is critical for maintaining suction and performance — check and replace filters every 2-3 months or as needed.
Attach the crevice tool or other accessories for specialized cleaning. Use the crevice tool for narrow spaces, edges, and hard-to-reach areas, ensuring efficient debris removal.
Tips for Safe and Effective Use
- Always turn off the vacuum and disconnect the charger before cleaning or replacing parts.
- Regularly check for blockages or debris in the cleaner heads and attachments.
- Use the LCD screen to monitor battery status and maintenance alerts during use.
- Store your vacuum in a dry, cool place to prolong battery life.
Remember to perform routine maintenance, including filter cleaning and checking for clogs, to keep your vacuum working at peak performance.
Troubleshooting Common Setup Issues
If your vacuum does not power on, ensure the battery is fully charged and the power trigger is pressed firmly. For connectivity issues with attachments, check that they are properly clicked into place. If the LCD displays error messages, consult the user manual or contact Dyson support for assistance.
The Products in This Guide

Dyson V15 Detect™ Origin Cordless Vacuum
- ✔ Battery Life: Up to 60 minutes
- ✔ Charging Time: Approximately 3.5 hours
- ✔ Weight: Less than 7.4 lbs

LANMU Crevice Tool Vacuum Attachments Compatible
- ✔ Compatibility: Most Dyson cordless models
- ✔ Material: Plastic
- ✔ Length: Variable
Dyson V15 Detect™ Origin Cordless Vacuum
The Dyson V15 Detect™ Origin offers exceptional cleaning performance with a user-friendly setup process. Its intelligent features and long-lasting battery make it a top choice for efficient home maintenance.
Pros:
- Powerful suction with 100% more cleaning power
- Intelligent dust detection and LCD display
- Long 60-minute runtime
- Versatile for various surfaces and spaces
Cons:
- Requires regular filter maintenance
- Battery charging time is around 3.5 hours
- Price may be higher compared to basic models
Best for: Homeowners seeking deep, efficient cleaning with smart features.
Not ideal for: Users looking for a lightweight or budget-friendly vacuum.
Bottom line: A highly capable, smart vacuum perfect for comprehensive home cleaning.
LANMU Crevice Tool Vacuum Attachments Compatible
The LANMU Crevice Tool Vacuum Attachments are compatible with Dyson V15 models and help you reach into narrow spaces, corners, and car interiors with ease. Its slim and flexible design makes it a valuable addition for detailed cleaning tasks.
Pros:
- Narrow nozzle for tight spaces
- Compatible with various Dyson models
- Easy to attach and detach
- Ideal for cars and furniture
Cons:
- Additional attachment needed for full versatility
- Not suitable for larger debris
- May require careful handling to avoid damage
Best for: Cleaning hard-to-reach areas like corners, upholstery, and car interiors.
Not ideal for: For general, broad surface cleaning — use the main cleaner heads.
Bottom line: A practical tool that boosts your vacuum’s versatility for detailed cleaning.
Frequently Asked Questions
How do I know when to replace the filters?
Check the LCD screen for filter maintenance alerts, or replace filters every 2-3 months depending on usage for optimal performance.
Can I wash the filters?
Yes, most Dyson filters, including pre-filters, can be rinsed with water and are reusable once fully dry. Do not use detergents or put them in a dryer.
What should I do if the vacuum won’t turn on?
Ensure the battery is fully charged. Check for any obstructions or blockages. If it still won’t power on, contact Dyson support for assistance.
How do I clean the cleaner heads?
Remove the cleaner head from the main body and clear any tangled hair or debris. Use a damp cloth to wipe the exterior and ensure no obstructions in the brush bar.
Can I use the vacuum without the filters?
No, filters are essential for proper airflow and suction. Always keep filters in place and clean as recommended.
Start Your Cleaning Journey with Confidence
Setting up your Dyson V15 Detect™ Origin Cordless Vacuum is designed to be simple, safe, and efficient. Proper assembly, charging, and regular maintenance will ensure you enjoy powerful, intelligent cleaning for years to come. Follow these steps carefully, and you’ll be ready to tackle any mess with ease and confidence.
Affiliate disclosure: As an Amazon Associate we earn from qualifying purchases. Prices and availability are accurate as of the time of publishing.
Fall Picks
fall essentials
As an affiliate, we earn on qualifying purchases.