The biggest mistake people make when testing plunge water is using contaminated or improperly rinsed containers, which skews results. Always use sterile, clean containers and collect samples from the center, avoiding surface debris and sediment. Handle samples carefully, seal them tightly, and store them correctly if testing is delayed. Ensuring proper sampling techniques can improve your results. Keep going to discover more tips for accurate water testing and avoid common pitfalls.
Key Takeaways
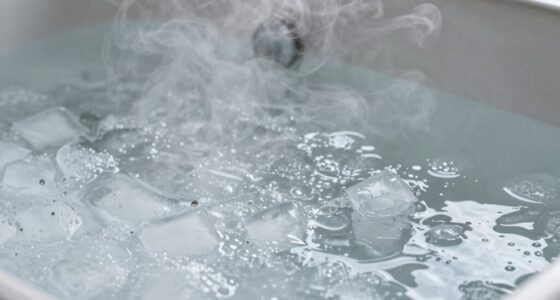
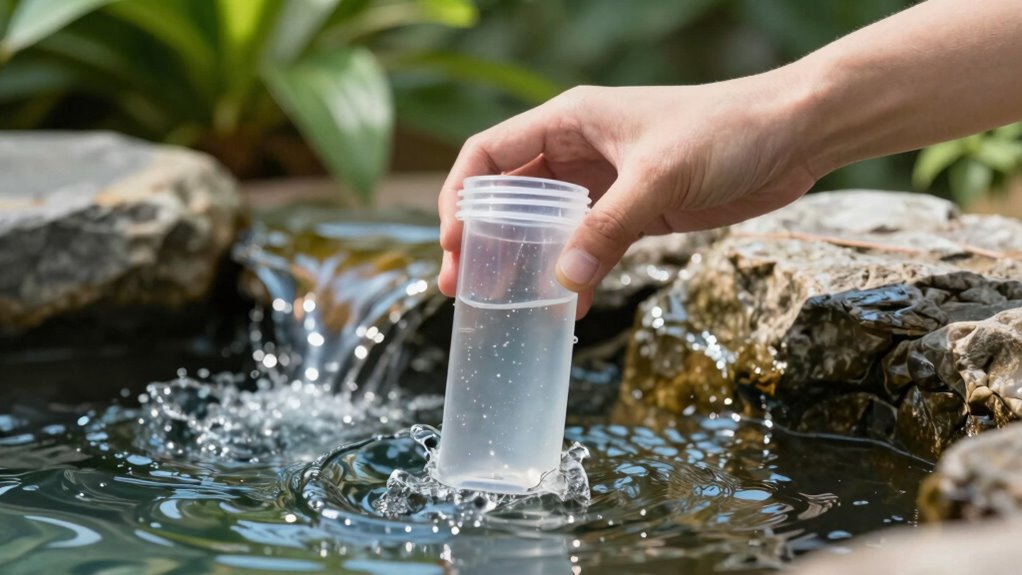
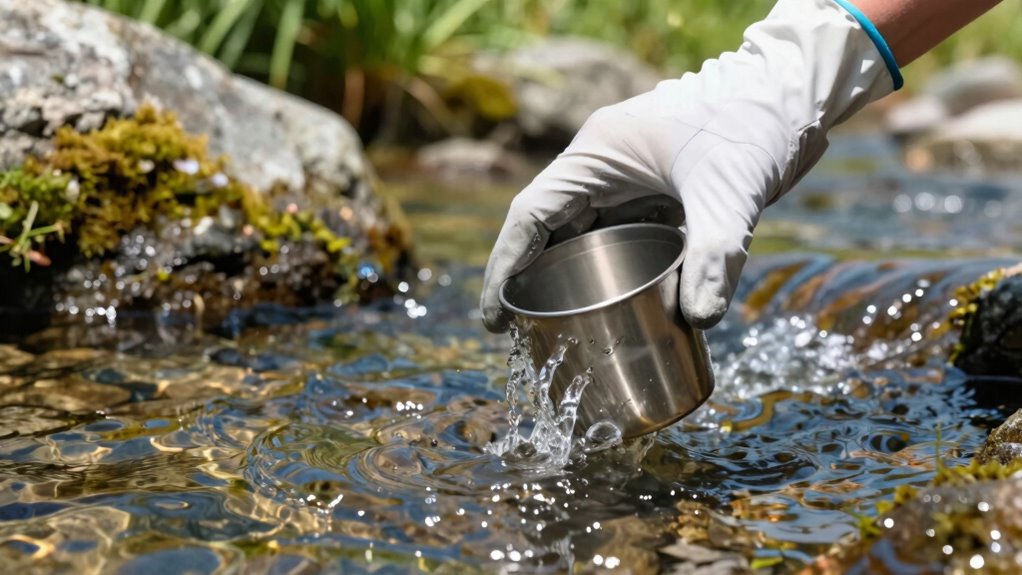
- Collect water from the center of the plunge, avoiding surface debris and sediment for an accurate sample.
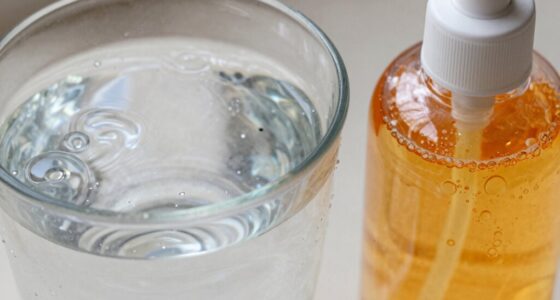
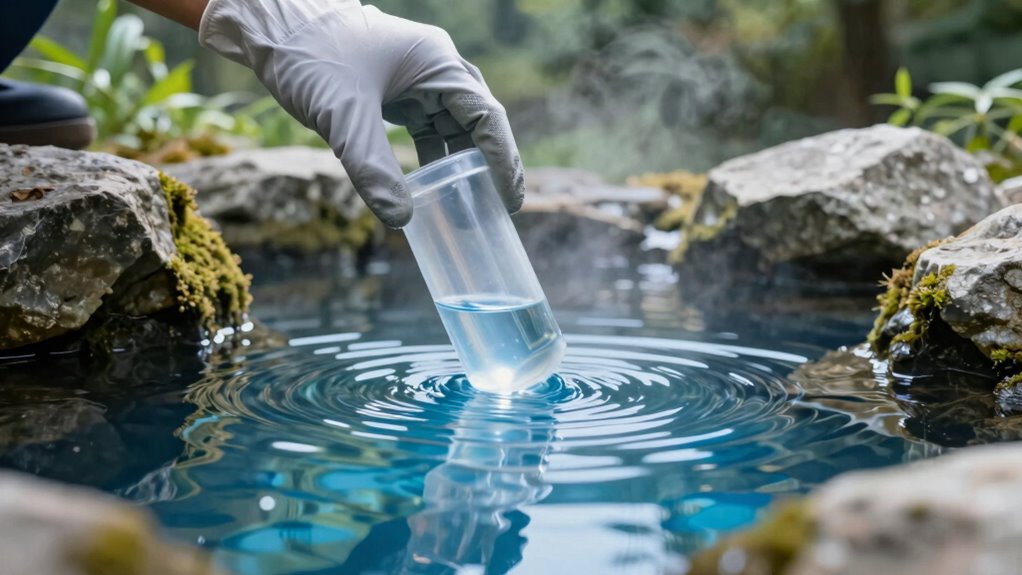
- Use sterile, rinsed containers, and seal them tightly immediately after collection to prevent contamination.
- Avoid sampling from the surface or edges; instead, submerge the container to the correct depth during collection.
- Ensure the sample is stored in a cool, dark place or refrigerated if testing is delayed.
- Confirm the sample temperature is within the recommended range before testing to prevent skewed results.
Why Accurate Plunge Water Testing Matters
Accurate plunge water testing is essential because it guarantees your water is safe and healthy to use. When testing, paying attention to water temperature is *crucial*, as it can affect the accuracy of your results. If the water is too hot or too cold, it might not reflect the true quality of your water. Additionally, proper sample storage is *vital*; you want to keep the sample at a consistent temperature and avoid contamination before testing. Mishandling or delaying testing can lead to misleading results, which might overlook harmful contaminants or bacteria. By ensuring the correct water temperature and storing your sample properly, you get reliable data. Proper sample handling and understanding water quality parameters are key to interpreting results accurately. This accuracy helps you make informed decisions about your water quality, keeping you and your household safe. Understanding test procedures and following standardized methods further enhances the reliability of your results. Proper training in sampling techniques can significantly reduce errors and improve testing outcomes. Additionally, becoming familiar with common testing errors can help you identify and correct mistakes during the testing process. Being aware of potential testing pitfalls can further safeguard the accuracy of your water analysis.
How to Prepare Your Water Sample for Reliable Results

To guarantee your water test results are reliable, it’s important to properly prepare your sample before testing. First, collect the sample in a clean, sterile container to protect water quality and prevent contamination. Fill the container without splashing to avoid introducing air bubbles, which can affect results. Keep the sample sealed tightly to preserve its original properties and prevent evaporation or contamination. If testing isn’t immediate, store the sample in a cool, dark place or refrigerate it to maintain sample preservation. Avoid exposing the sample to sunlight or heat, as these can alter water quality. Ensuring your sample is free from contamination risks helps maintain the integrity of your test results. Additionally, understanding the water quality parameters you’re testing for can help interpret your results more accurately. Proper sample handling also involves avoiding contact with foreign substances, which could skew the results. Maintaining a clean sampling process is essential for obtaining accurate data. Using appropriate sampling techniques can further help prevent errors and improve the reliability of your water analysis. Following these steps ensures your sample accurately reflects the water’s current condition, leading to more reliable and meaningful test results.
Step-by-Step Guide to Testing Your Plunge Water Correctly
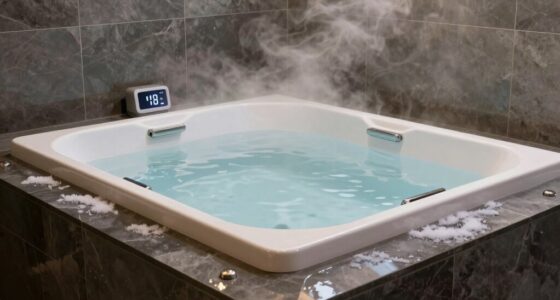
Testing your plunge water correctly is essential to get accurate results. Begin by gathering your testing kit and ensuring the water sample is fresh. First, check the water temperature, as it can affect chlorine readings; aim for the recommended range specified by your test kit. Next, collect a water sample from the center of the plunge, avoiding surface debris or the bottom sediment. Use the test strips or liquid reagent as instructed, immersing or adding it to the sample. Wait the specified time for the test to develop. Carefully read the results, paying close attention to the chlorine levels. Properly recording these readings guarantees you maintain safe and balanced water quality. Additionally, understanding water testing procedures can help you interpret results more accurately and ensure proper maintenance. Knowing how to interpret test results correctly allows you to make informed decisions about balancing chemicals and maintaining a safe plunge environment. Regular testing and understanding water chemistry can further improve your water management practices. Being familiar with common testing mistakes can help prevent inaccurate readings and ensure your water remains safe for use.
Common Mistakes to Avoid When Collecting Water Samples
Have you ever collected a water sample only to realize it wasn’t representative of the entire plunge? One common mistake is using the wrong sampling containers, which can introduce water contamination. Always choose sterile, appropriate containers to prevent skewed results. Another mistake is not rinsing containers properly before sampling, risking contamination from previous samples. Be cautious not to touch the inside of the container or lid, as this can compromise sample integrity. In the end, avoid collecting samples from surface water only; instead, take samples at different depths to get a true picture. Additionally, using equipment with electric power capacity ensures consistent sampling conditions and accuracy. Proper technique also involves understanding sampling protocols to ensure your sample truly reflects the water quality of the plunge, avoiding costly mistakes. These errors can lead to inaccurate analysis, affecting your water quality assessment.
Tips for Preventing Contamination During Sampling

Contamination can easily occur during sampling if you’re not careful, which can compromise the accuracy of your results. To prevent this, always use clean, sterile sampling containers designed for water testing. Rinse containers thoroughly with the water you’re testing before filling them, avoiding any contact with the outside of the container. Keep the sample sealed immediately after collection to prevent exposure to environmental contaminants. Proper sample preservation is also essential; keep samples cool and process them as soon as possible to prevent bacteria growth or chemical changes. Avoid touching the inside of the container or the lid, and don’t use containers that have been previously used for other substances. Ensuring sample integrity by handling samples carefully helps guarantee your sample remains uncontaminated and accurately represents the water source. Additionally, understanding the importance of quality assurance can help ensure your sampling process yields reliable results. Maintaining sample storage conditions is crucial to prevent degradation or contamination during transit or storage before analysis. Proper labeling and documentation also play a vital role in maintaining the sample chain of custody, which is essential for credible testing outcomes. Being aware of standardized procedures can further minimize risks of contamination and improve the overall reliability of your water testing.
Interpreting Your Water Test Results and Next Steps

Once you receive your water test results, it’s important to understand what they mean so you can take appropriate action. Accurate interpretation helps you assess your water quality and determine if it meets safety standards. Carefully review the testing protocols used and verify the lab’s credibility to ensure reliable results. Look for key indicators such as levels of contaminants, pH, and bacteria presence. Keep in mind that some results may require further testing or professional consultation. Understanding test accuracy and the limitations of your testing methods can help you make better-informed decisions about your water safety. Additionally, being aware of media literacy can help you critically evaluate the sources of your testing information and avoid potential misinformation.
Troubleshooting Poor Results and What to Do Next
If your test results seem off, start by checking your sampling technique to guarantee you’re collecting water properly. Next, confirm that your testing equipment is accurate and functioning correctly. Finally, repeat the test multiple times to verify consistency before drawing any conclusions.
Check Sampling Technique
Are you getting unexpected or inconsistent results from your water tests? The issue might be with your sampling technique. First, verify you’re using the correct sample container—clean and free of contaminants. Pay close attention to sample timing; collect samples at the right moment to reflect current water conditions. Here are some tips to improve your technique:
- Use a sterile, airtight sample container to prevent contamination.
- Collect the sample from the correct depth and location, avoiding surface debris.
- Rinse the container only with the water you’re testing, then fill it without touching the inside.
- Record the exact sample timing to track fluctuations over time.
Confirm Equipment Accuracy
When your water test results seem off, the first step is to confirm that your testing equipment is accurate and functioning properly. Start by checking equipment calibration; ensure your tester is calibrated according to the manufacturer’s instructions. If your device requires calibration, do it regularly to maintain accuracy. Next, verify reagent accuracy—expired or improperly stored reagents can lead to incorrect readings. Use fresh, properly stored reagents and follow the instructions carefully. Double-check that test strips or digital meters are clean and free of debris. If results still seem inconsistent, consider testing a known sample or using a different device to confirm your results. Accurate equipment and reliable reagents are essential for trustworthy water testing outcomes.
Repeat Test Consistently
To guarantee your water test results are reliable, it’s important to repeat the test multiple times. Consistency helps identify anomalies caused by sampling frequency issues or calibration errors. Repeating tests ensures your results aren’t skewed by temporary factors or equipment drift. Make sure your testing equipment is properly calibrated before each round. Keep a consistent sampling method and timing to reduce variability. If results vary between tests, review your sampling procedures and calibration status. Adjust your sampling frequency if needed, increasing it for better accuracy. Regularly check and calibrate your testing devices. Document each test to track trends and spot inconsistencies early. This approach minimizes errors and improves confidence in your water quality assessment.
Frequently Asked Questions About Testing Plunge Water
When testing plunge water, you might wonder about common mistakes and proper sampling techniques. Knowing how to prevent errors ensures your results are accurate and reliable. Let’s address some frequently asked questions to help you get the best possible readings.
Common Testing Mistakes
Many common mistakes can lead to inaccurate water test results, which is why understanding and avoiding them is essential. Sampling errors often occur when samples aren’t collected properly, leading to unreliable data. Failing to follow testing protocols can skew results, causing you to misjudge water quality. To prevent these issues, be sure to:
- Collect samples at the right depth and time
- Use clean, sterilized containers
- Avoid contaminating samples during collection
- Follow the testing procedures exactly as instructed
Accurate Sampling Techniques
Getting accurate results from plunge water testing hinges on using proper sampling techniques. To guarantee reliable water quality data, select the right sampling equipment—clean, sterile containers are essential. Always collect samples from mid-depth and away from the surface or bottom to avoid contamination. Use consistent procedures, such as rinsing the container with water first, then filling it without touching the inside. Properly seal and label each sample immediately to prevent cross-contamination. Here’s a quick reference:
| Step | Key Action | Purpose |
|---|---|---|
| Equipment | Use sterile, clean containers | Prevent contamination |
| Sampling Location | Mid-depth, away from edges | Accurate water quality data |
| Handling | Rinse, then fill without touching | Maintain sample integrity |
Following these techniques ensures your plunge water tests reflect true water quality.
Frequently Asked Questions
How Often Should I Test My Plunge Water for Optimal Safety?
You should test your plunge water at least once a week to guarantee maximum safety and prevent water contamination. Regular testing helps catch any bacteria, algae, or other contaminants early. If you notice any changes in water clarity or smell, test immediately. Consistent testing frequency keeps your plunge pool safe and clean, giving you peace of mind and a healthier experience every time you dip in.
Can I Use Household Testing Kits Instead of Professional Lab Analysis?
You can use household testing kits, but keep in mind they often lack the accuracy of professional analysis. Imagine yourself dipping a test strip into the water, hoping for a quick result, yet missing subtle contaminants. While convenient, household kits are best for routine checks, but for precise safety assurance, professional analysis provides extensive insights. Relying solely on kits might overlook issues that could affect your plunge experience.
What Are the Signs That My Plunge Water Needs Testing Sooner?
You should test your plunge water sooner if you notice signs of water contamination like foul odors, cloudiness, or visible debris. Poor equipment maintenance can also lead to increased risk, so regularly check and clean your filtration systems. If you experience skin irritation or strange tastes, it’s a clear sign that your water quality may be compromised, and early testing can help prevent health issues.
Are There Seasonal Factors That Affect Water Testing Procedures?
Yes, seasonal fluctuations and temperature variations do influence water testing procedures. When temperatures drop, bacteria and algae may become less active, but chemical imbalances can still occur, so you should test more frequently in colder months. In warmer seasons, rapid algae growth and increased bacteria activity mean you need to test often. Adjust your testing schedule accordingly to ensure your plunge water stays safe and clean year-round.
How Long Should I Wait for Test Results Before Taking Action?
Did you know that waiting at least 24 to 48 hours for test results can substantially improve test accuracy? You should wait this period before taking action, as rushing may lead to inaccurate readings. The waiting period allows your testing kit to provide reliable data, ensuring you make informed decisions about your water quality. Patience here safeguards your health and the effectiveness of your testing process.
Conclusion
By mastering the correct testing techniques, you guarantee your plunge water remains safe and inviting. But remember, even the tiniest mistake can compromise your results—and your peace of mind. Are you truly ready to trust what your sample reveals? Keep vigilant, stay informed, and don’t let overlooked details sabotage your efforts. The key to perfect water quality is in your hands—are you prepared to uncover the truth beneath the surface?