
To keep noise low and storage simple, organize recovery devices with labeled, transparent containers and dedicated shelving that’s easy to access. Use sound-absorbing materials like foam panels or soft furnishings, and consider enclosures or soundproof curtains to block noise. Manage cables neatly with ties to prevent tangles and rattles. Balancing cost-effective solutions like vibration pads and seals can make your setup quieter without hassle. Keep exploring for more practical tips to streamline your recovery environment.
Key Takeaways
- Use sound-absorbing materials and strategic placement to reduce noise without complicating device access.
- Implement organized, labeled storage solutions with transparent containers for quick, easy recovery device retrieval.
- Incorporate vibration dampening pads and enclosures to minimize noise during operation while maintaining simplicity.
- Seal gaps and utilize cost-effective acoustic treatments like curtains and mats to keep environments quiet and manageable.
- Design storage layouts that prioritize accessibility and clarity, reducing stress and avoiding unnecessary clutter.
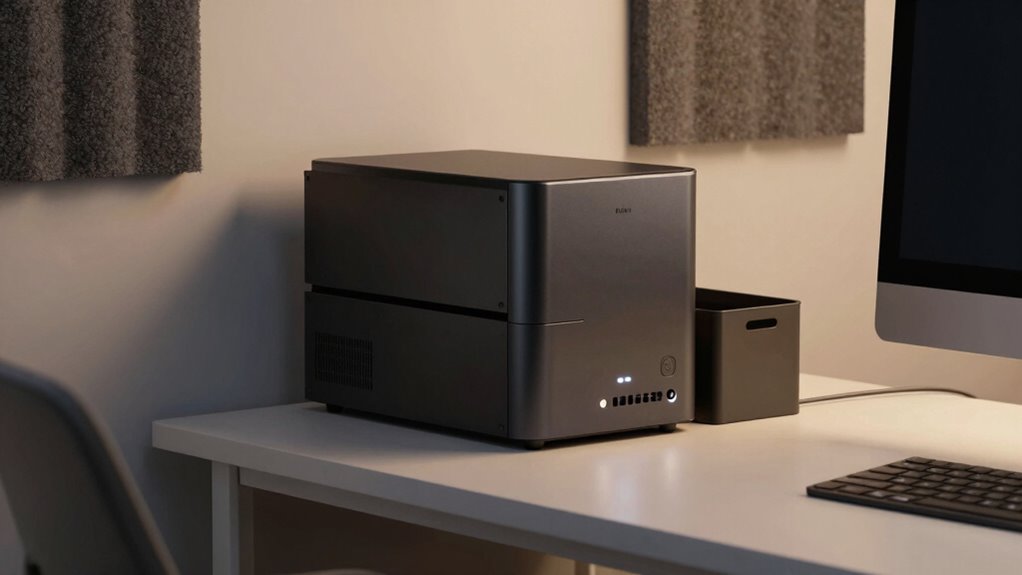
soundproof recovery device enclosure
As an affiliate, we earn on qualifying purchases.
As an affiliate, we earn on qualifying purchases.
Why Noise Control Is Critical in Recovery Setups
Noise control is vital in recovery setups because excessive noise can disrupt your workflow and compromise the quality of the recovery process. Effective sound masking helps by blending background sounds, reducing distractions and creating a calmer environment. Vibration isolation is equally important; it minimizes disturbances caused by machinery or external sources that can interfere with sensitive recovery devices. When you implement sound masking, you mask disruptive noises, allowing you to focus better. Vibration isolation prevents vibrations from traveling through surfaces, protecting delicate equipment from interference. Additionally, understanding projector technology can help optimize equipment placement and reduce unwanted noise and vibrations. Incorporating European cloud innovation principles can further enhance the sustainability and security of your recovery environment. Using noise-reduction techniques such as specialized mats and enclosures can significantly improve overall quietness. Implementing modern kitchen technology solutions such as automated vibration dampers can also contribute to a quieter setup. Together, these strategies ensure a quieter environment, which is essential for accurate recovery procedures and maintaining a steady workflow. Prioritizing noise control helps you stay efficient and reduces the risk of errors caused by disruptive sounds.
vibration dampening pads for electronics
As an affiliate, we earn on qualifying purchases.
As an affiliate, we earn on qualifying purchases.
How to Choose Quiet, Space-Saving Storage for Recovery Devices
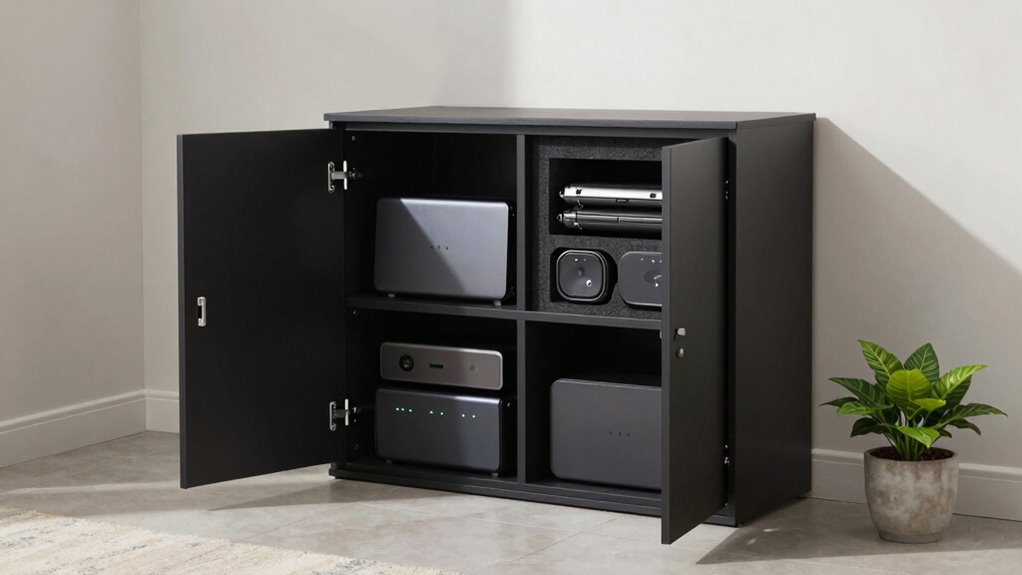
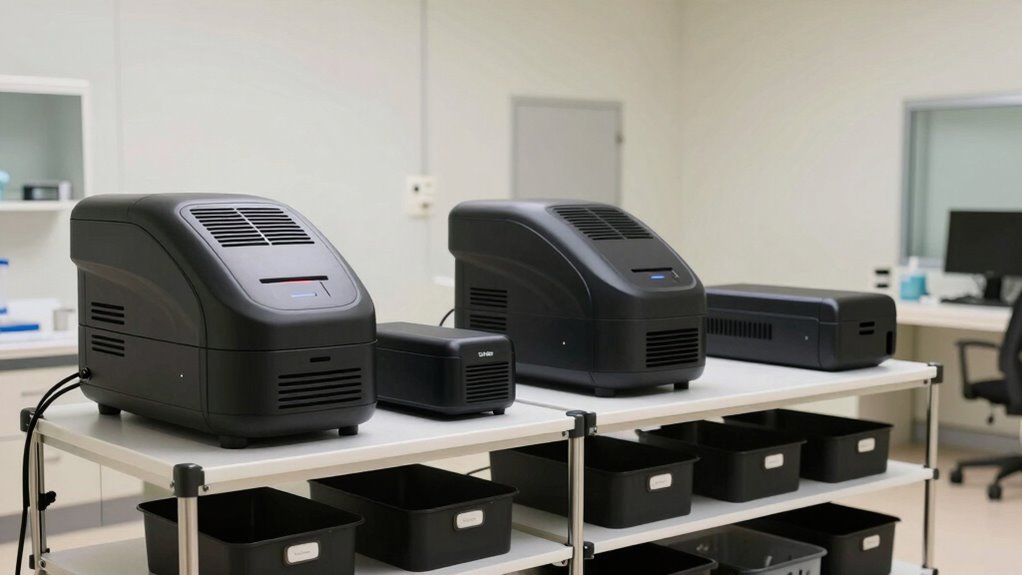
Selecting the right storage for your recovery devices involves balancing quiet operation with efficient use of space. Look for options like compact shelving, which maximizes storage in a minimal footprint while keeping devices accessible. Silent storage solutions are essential to minimize noise, especially if your recovery setup is in a shared or sensitive environment. Choose enclosures or cabinets designed for sound dampening to prevent noise from disturbing your work or others nearby. Consider the layout carefully—stackable or modular storage units can adapt to your space constraints. Prioritize durable, vibration-resistant materials to protect your devices and ensure quiet operation. By combining compact shelving with silent storage, you create a streamlined, unobtrusive environment that supports both efficiency and peace of mind.
transparent labeled storage containers for tech equipment
As an affiliate, we earn on qualifying purchases.
As an affiliate, we earn on qualifying purchases.
Organize Your Recovery Devices for Easy and Quick Access
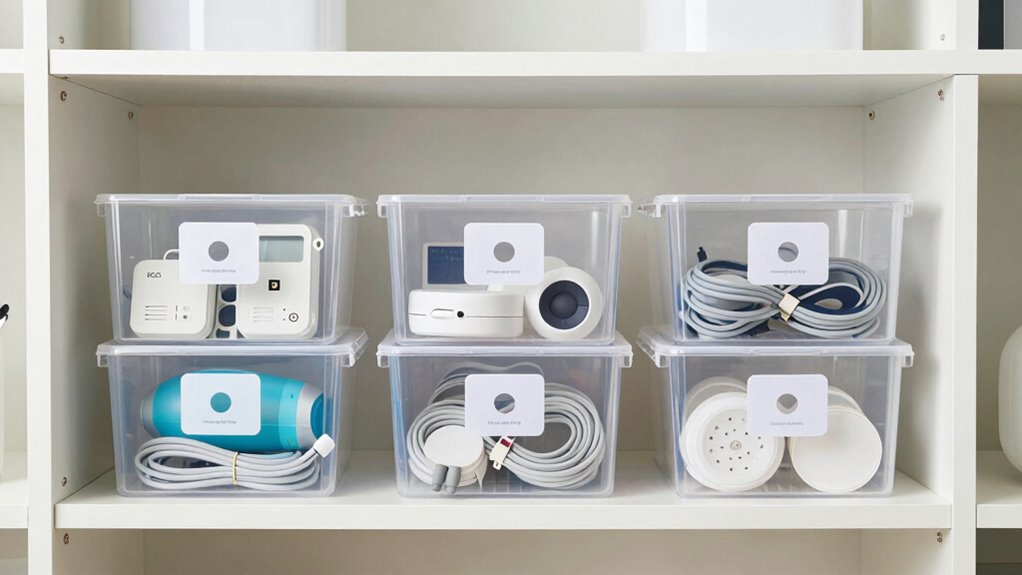
To access your recovery devices quickly, start by labeling each storage compartment clearly. Use transparent containers so you can see what’s inside at a glance, saving time searching. Also, designate a central spot for frequently used items to keep everything organized and within reach. Incorporating Free Floating elements into your storage setup can make it easier to keep everything accessible and clutter-free. Additionally, considering Support Breakfast options in your routine can help maintain energy levels during recovery periods. Ensuring your storage setup is Safety-conscious will further prevent accidents and make your recovery process smoother.
Label Storage Compartments Clearly
Have you ever wasted time searching for the right recovery device in a cluttered storage area? Label compartments clearly to save time and reduce frustration. Use bold, legible labels on each storage bin or drawer, so you instantly know what’s inside. Incorporate color coding to make identification even faster—assign specific colors to different device types or recovery categories. This visual cue helps you locate what you need without opening every container. Keep labels consistent and updated as your collection grows or changes. Clear labeling minimizes noise and confusion, streamlines your access, and keeps your recovery space organized. When everything is labeled properly, you spend less time searching and more time focusing on your recovery process. Additionally, understanding load‑planning tools can help you optimize storage and device placement for quick access during emergencies. Proper organization also reduces storage clutter, making your recovery area safer and more efficient. Incorporating visual management strategies can further enhance your storage system by providing immediate visual cues and status updates. Regular inventory checks are essential to ensure labels remain accurate and your system functions smoothly. Additionally, utilizing standardized labeling methods can help maintain consistency as your collection expands.
Use Transparent Containers Often
Using transparent containers can considerably improve how you organize your recovery devices. They allow you to see everything at a glance, minimizing search time. With clear visibility, you can quickly identify the right device without rummaging. To enhance organization, consider color coding containers for different types of devices—red for emergency tools, blue for maintenance, etc. Labels stay visible and legible, reinforcing quick access. Incorporating ergonomic principles into your storage setup can help reduce strain when retrieving devices. Here’s a simple visual:
| Recovery Device | Container Color | Label Visibility |
|---|---|---|
| First aid kit | Red | Clear |
| Power supplies | Blue | Prominent |
| Cleaning tools | Green | Easy to read |
This setup keeps your system logical, efficient, and hassle-free, ensuring you find what you need fast. Implementing a storage strategy can further streamline your process and prevent clutter.
Designate a Central Spot
Wondering how to make sure your recovery devices are always within reach? The key is to designate a central spot for all your recovery tools. Choose a specific, easily accessible location in your home—like a shelf, drawer, or bin—and keep everything related to recovery there. A centralized location prevents clutter and ensures you don’t waste time searching when you need your devices quickly. Incorporating a dedicated storage system can further streamline your recovery process and maintain an organized, calm environment. By organizing your recovery devices into a designated space, you create a habit of always knowing where they are. This simple step reduces frustration and keeps your routines smooth. Establishing consistent organizational routines can help reinforce this habit over time. Make it a point to return devices to this central spot after each use, so they’re always ready when you need them. Additionally, regularly assessing and updating your organization method can help adapt to changing needs and prevent clutter buildup.
noise-reducing shelving for recovery devices
As an affiliate, we earn on qualifying purchases.
As an affiliate, we earn on qualifying purchases.
Easy Soundproofing Tips to Keep Your Workspace Quiet
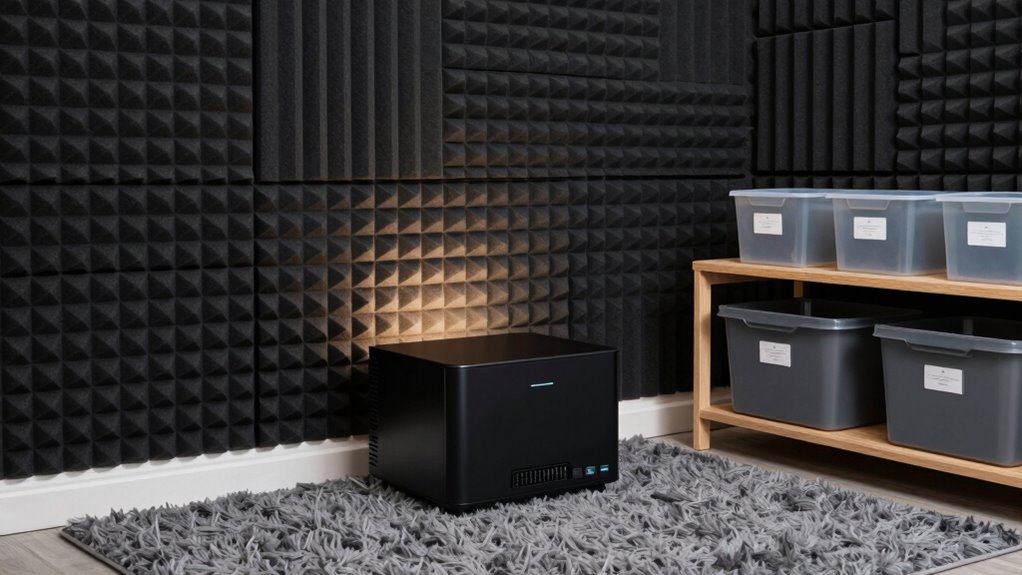
To keep your workspace quiet, start by adding acoustic panels to absorb sound. Soft furnishings like rugs and curtains also help reduce noise reflections, creating a calmer environment. Don’t forget to seal gaps around doors to prevent sound from escaping and entering your space. Incorporating soundproofing techniques can further enhance noise reduction and improve overall acoustics. Additionally, using sound absorption materials strategically can help target specific areas where noise may be most disruptive. For example, selecting electric dirt bikes with quieter motors can minimize noise pollution in shared or sensitive environments, and choosing high-quality espresso machines under $1000 can reduce noise during morning routines without sacrificing performance.
Use Acoustic Panels
Acoustic panels are an effective and straightforward way to reduce noise in your workspace. They work by enhancing sound absorption, preventing sound waves from bouncing around and creating echoes. Installing acoustic panels on your walls helps dampen loud noises from recovery devices or nearby equipment, making your environment more manageable. Choose panels made from sound-absorbing materials like foam or mineral wool for ideal results. Position them strategically, such as behind noise sources or on reflective surfaces, to maximize their effectiveness. Acoustic panels are easy to install and maintain, offering an affordable solution without cluttering your space. By reducing ambient noise, you’ll create a calmer, more focused workspace that minimizes distractions and improves overall efficiency.
Add Soft Furnishings
Adding soft furnishings to your workspace is a simple way to dampen noise and create a quieter environment. Items like plush rugs, fabric-covered chairs, and thick curtains serve as effective acoustic treatments that absorb sound waves. These soft furnishings reduce echo and echo-related disturbances, making your recovery device area more peaceful. You don’t need elaborate acoustic treatments; instead, focus on strategically placing soft elements where noise tends to bounce or amplify. For example, a large fabric curtain can cover a wall or window to lessen sound transmission. Incorporating soft furnishings is an easy, cost-effective way to improve sound quality without complicating your setup. Keep it simple and focus on adding textures that naturally absorb sound to keep your workspace quiet and comfortable.
Seal Door Gaps
Sealing gaps around your door is a quick and effective way to block sound from escaping or entering your workspace. A proper door seal helps create a barrier, reducing noise pollution and improving acoustics. To achieve this, use gap filling materials like weatherstripping or door sweeps. These sealants are easy to install and cost-efficient.
| Step | Material Used | Benefits |
|---|---|---|
| Identify gaps | Visual inspection | Finds all noise leaks |
| Apply gap filler | Weatherstripping | Seals gaps quickly |
| Install door seal | Door sweep | Blocks sound from below |
| Test and adjust | Sound test | Ensures maximum seal effectiveness |
Cable Management Tricks to Reduce Noise and Clutter

Effective cable management is essential for minimizing noise and reducing clutter in recovery device setups. Proper cable routing keeps cables organized and prevents them from tangling or interfering with fans and vents. Use cable ties to secure cables neatly along walls or behind equipment, avoiding loose loops that can cause noise or clutter. Keep power cords separated from data cables to prevent interference and reduce noise. Label cables to quickly identify and troubleshoot issues without disturbing the entire setup. Avoid crossing cables haphazardly; instead, route them along designated paths or cable trays. Regularly check and tighten cable ties to maintain order. Clear, organized cables not only reduce noise but also simplify maintenance, ensuring your recovery environment stays quiet and efficient.
How to Maintain a Quiet Environment During Backup and Restore
To maintain a quiet environment during backup and restore operations, you need to control noise sources and optimize your setup. Start by placing your devices on vibration pads to dampen vibrations that cause noise. These pads absorb movement and reduce sound transfer to surrounding surfaces. Additionally, use soundproof curtains around your work area to contain noise and prevent it from disturbing others. Ensure cables are managed neatly to avoid unnecessary rattling, and keep air circulation systems well-maintained to minimize fan noise. Regularly check and tighten connections to prevent vibrations. Combining vibration pads with soundproof curtains creates a quieter environment, making your backup and restore processes less disruptive and more efficient.
Balancing Cost and Effectiveness in Noise-Reducing Storage Options

While implementing noise-reduction measures like vibration pads and soundproof curtains can considerably cut down on disruption, it’s important to contemplate the costs involved. Conducting a thorough cost analysis helps you weigh expenses against benefits, ensuring smart investments. Effectiveness comparison between options reveals which solutions deliver the best noise reduction for your budget. For example, soundproof enclosures may be costly but highly effective, whereas foam panels are more affordable but less impactful. Use this table to evaluate your choices:
| Option | Cost | Effectiveness |
|---|---|---|
| Vibration Pads | Moderate | High |
| Soundproof Curtains | Low | Moderate |
| Enclosures | High | Very High |
| Foam Panels | Low | Low to Moderate |
Balancing costs with effectiveness guarantees quieter storage without overspending.
Common Troubleshooting for Noise and Storage Challenges

When noise and storage issues arise during the deployment of recovery devices, quick troubleshooting can prevent delays and minimize disruptions. First, check the device’s placement—poor ventilation or proximity to other equipment can affect noise levels and compromise device durability. Confirm cables and connectors are secure; loose connections may cause unnecessary noise or storage malfunctions. For energy efficiency, verify that cooling fans aren’t overworking, which can contribute to noise and reduce device lifespan. Regularly clean dust buildup to maintain ideal airflow, preventing overheating that harms device durability. If storage capacity seems insufficient or slow, evaluate if the device firmware needs updating or if storage media are fragmented. Addressing these common issues promptly keeps your recovery device running smoothly, extending its lifespan and maintaining its efficiency.
Frequently Asked Questions
What Are the Best Materials for Noise-Absorbing Storage Units?
You should choose soundproof materials like dense foam or mineral wool for your storage units, as they effectively absorb noise. Acoustic panels are also excellent for reducing sound transmission and can be easily integrated into your storage design. Using these materials helps keep your recovery devices quiet and your workspace peaceful, without adding unnecessary complexity or expense. Prioritize these options for a simple, efficient noise-absorbing storage solution.
How Often Should Maintenance Be Performed on Noise-Reducing Equipment?
You should perform maintenance on noise-reducing equipment at least every six months—because who doesn’t love a surprise noise spike? Follow a strict maintenance schedule and do regular noise monitoring to catch issues early. Neglecting this might turn your peaceful storage into an impromptu rock concert. So, stay proactive, check those devices often, and keep your space quiet and hassle-free—your ears will thank you.
Can Ambient Noise Levels Affect Recovery Device Performance?
Ambient noise levels can indeed affect your recovery device’s performance. Excessive noise may disrupt patient comfort, making it harder for the device to operate accurately. When noise levels are too high, it can lead to inaccuracies in measurements and compromise patient safety. To guarantee ideal device accuracy and patient comfort, keep ambient noise low, especially in sensitive recovery areas, and regularly monitor environmental conditions.
What Are Cost-Effective Solutions for Soundproofing Small Spaces?
Think of soundproofing small spaces like sealing a jar—every gap counts. You can hang soundproof curtains to block noise easily and affordably, like wrapping your space in a quiet blanket. Foam panels are another great option; stick them on walls to absorb sound and reduce echo. Both solutions are cost-effective and simple to install, making your recovery device environment peaceful without breaking the bank.
How to Measure the Effectiveness of Noise Reduction in Storage Areas?
You can measure noise reduction effectiveness by using decibel measurement tools like a sound level meter. First, record the baseline sound level in your storage area, then compare it after implementing soundproofing solutions. A significant decrease in decibel levels indicates effective noise reduction. Consistently performing sound level comparisons helps you evaluate progress and guarantees your storage space remains quiet and efficient for recovery devices.
Conclusion
By mastering noise and storage planning, you create a workspace where recovery devices operate smoothly and silently—like a well-conducted symphony. When you prioritize soundproofing, organization, and smart storage, you turn chaos into calm, making recovery tasks less of a headache. Remember, a quiet environment isn’t just a luxury; it’s the harmony that keeps your workflow efficient and stress-free. After all, isn’t peace of mind worth the effort?