
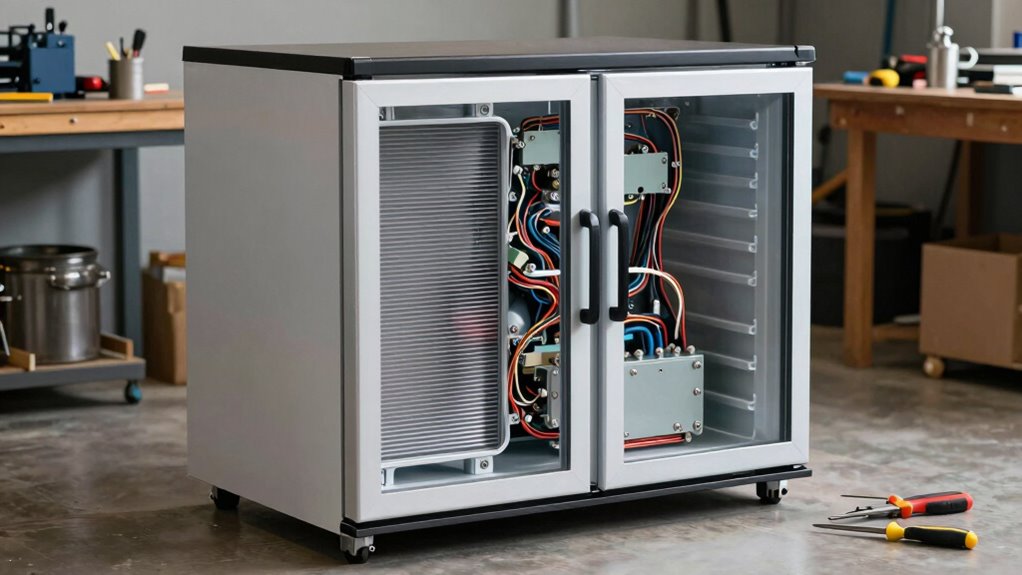
The biggest design challenge many overlook when converting an upright freezer is managing insulation and airflow. Poor insulation leads to energy loss and uneven cooling, while blocked vents cause heat buildup and compressor overload. Failing to seal gaps or properly vent the space can damage your conversion’s efficiency and safety. If you want to avoid these common pitfalls and guarantee your project lasts, there’s more to learn about best practices for a successful upgrade.
Key Takeaways
- Proper insulation and sealing are often overlooked but crucial to prevent energy loss and ensure efficient temperature control.
- Managing airflow and ventilation is frequently missed, risking heat buildup and compressor overload.
- Structural integrity during conversion is essential; neglecting it can compromise safety and durability.
- Adequate door sealing and gasket maintenance are vital to maintain internal temperatures and prevent spoilage.
- Balancing aesthetic modifications with functional airflow and insulation considerations ensures long-term performance.
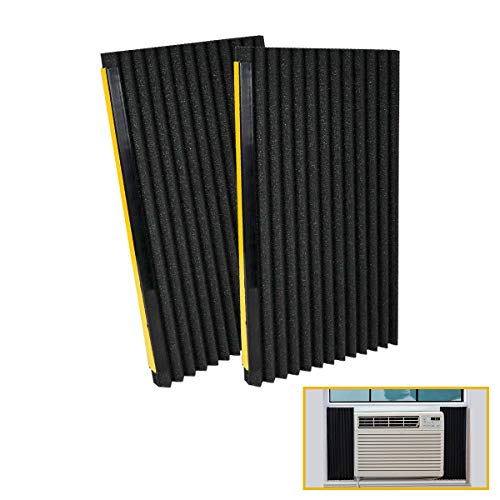
LBG Products Window Air Conditioner Foam Insulation Panels,AC Side Insulating Panel Kit,2 Pack,Black, 17in High x 9in Wide x 7/8in Thick
[✔Universal Design]:Air Conditioner Side Insulating Panels design to cover your broken original panel or work as replacement,these Panels…
As an affiliate, we earn on qualifying purchases.
As an affiliate, we earn on qualifying purchases.
Understanding the Challenges of Converting an Upright Freezer

Converting an upright freezer can be more complicated than it seems at first glance. One key challenge is maintaining energy efficiency, as modifications might lead to gaps or insulation issues that increase power consumption. You need to carefully plan how to improve or preserve insulation during the conversion process. Proper insulation plays a crucial role in ensuring the freezer remains energy-efficient after modifications. Aesthetic modifications also pose hurdles; changing the exterior or interior can disrupt the original design, affecting both appearance and functionality. Ensuring a seamless look while optimizing storage space requires precision and attention to detail. Additionally, you must consider the unit’s structural integrity**, so it remains safe and reliable after modifications. Understanding the impact of insulation on overall energy use is essential for a successful conversion. Proper planning upfront helps you avoid costly mistakes and achieve a successful conversion that looks good and performs efficiently. Incorporating thermal performance considerations early can significantly influence the long-term success of your project. Moreover, assessing the material compatibility** is important to prevent issues like corrosion or material failure over time.

Convert Freezer to Fridge Kegerator Thermostat Adapter KIT with Instructions
🔄 Universal Compatibility: Designed to work with any freezer, our converter offers unparalleled versatility, allowing you to transform…
As an affiliate, we earn on qualifying purchases.
As an affiliate, we earn on qualifying purchases.
Common Design Hurdles in Freezer Conversion Projects
When tackling freezer conversions, you’ll encounter several design hurdles that can complicate your project. One common issue is choosing the right paint color; since freezers are often in visible areas, selecting durable, heat-resistant paint that matches your aesthetic is essential. Flooring options also pose a challenge—many flooring materials may not withstand the cold or moisture, so you need to find options like sealed vinyl or epoxy coatings that resist freezing temperatures. Additionally, ensuring the flooring is level and secure is critical for safety and functionality. These hurdles require careful planning to avoid costly mistakes later. Addressing paint color and flooring options early on helps create a cohesive, weather-resistant finish, making your freezer conversion both practical and visually appealing. Properly material selection is crucial to ensure long-term durability and ease of maintenance in your converted freezer space.

Upgraded 54"x 27" 5304507201 Freezer Door Gasket Replacement Compatible with Frigidaire,Crosley and Kenmore Freezer Door Seal PD00032288 216522306 216522356 5304507209 PS11770645 AP6037541 White
【Upgraded Thicked Quality Freezer Door Seal】ARLBA 5304507201 Freezer Door Gasket Dimensions 54" x 27".it is made of High…
As an affiliate, we earn on qualifying purchases.
As an affiliate, we earn on qualifying purchases.
How Freezer Structure and Insulation Impact Your Customization Options
The structure and insulation of your freezer play a crucial role in shaping your customization options. A sturdy framework ensures that modifications won’t compromise the overall structural integrity, keeping your freezer safe and reliable. Proper material selection is essential for maintaining durability when making alterations. Meanwhile, insulation efficiency affects how much you can adapt the interior without losing energy performance or risking spoilage. If the walls are thin or poorly insulated, your options for adding features or changing shelves become limited. You might also face increased energy costs or uneven cooling. For example, electric power generation with bike generators demonstrates how energy efficiency and effective design are vital for optimal performance. Understanding color accuracy and how it influences visual perception can similarly inform how you approach modifications to ensure durability and safety.

INSULATION MARKETPLACE SmartSHIELD -3mm 16inx10Ft ReflectiveINSULATION roll, Foam Core Radiant Barrier, ThermalINSULATION Shield – Engineered Foil
EXTREMELY EFFECTIVE – reflect 95% of radiant energy, perfect RADIANT BARRIER.
As an affiliate, we earn on qualifying purchases.
As an affiliate, we earn on qualifying purchases.
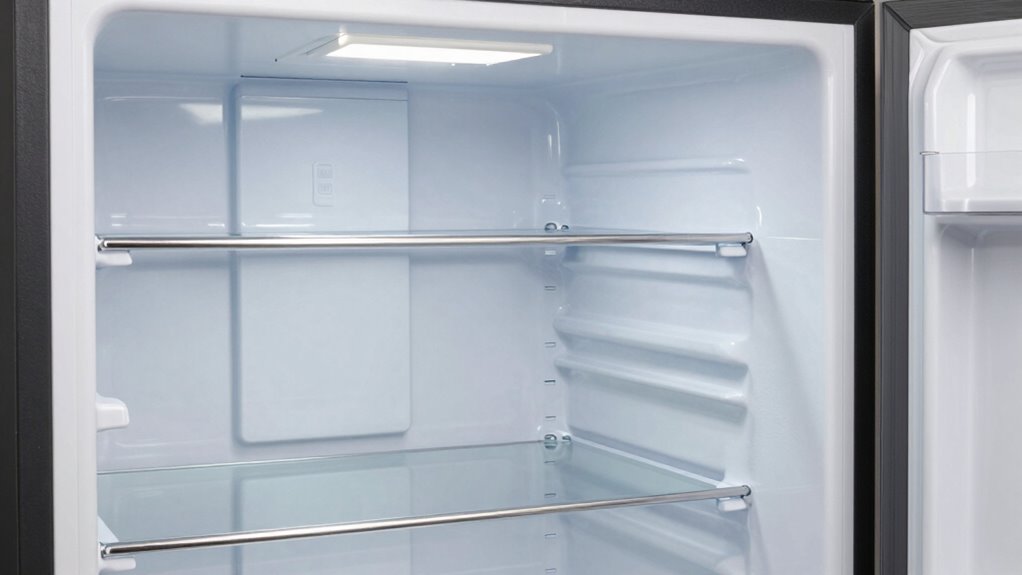
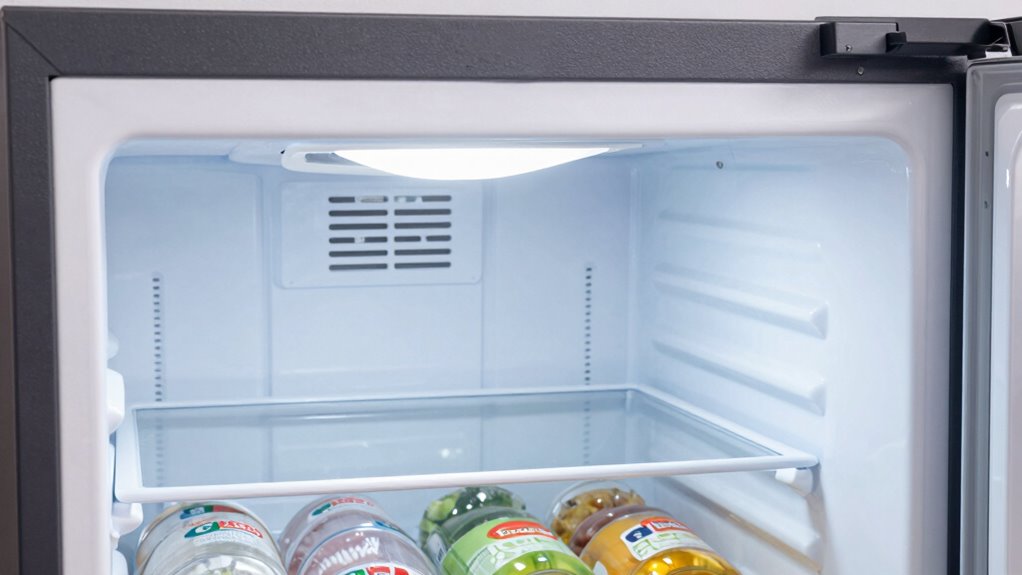
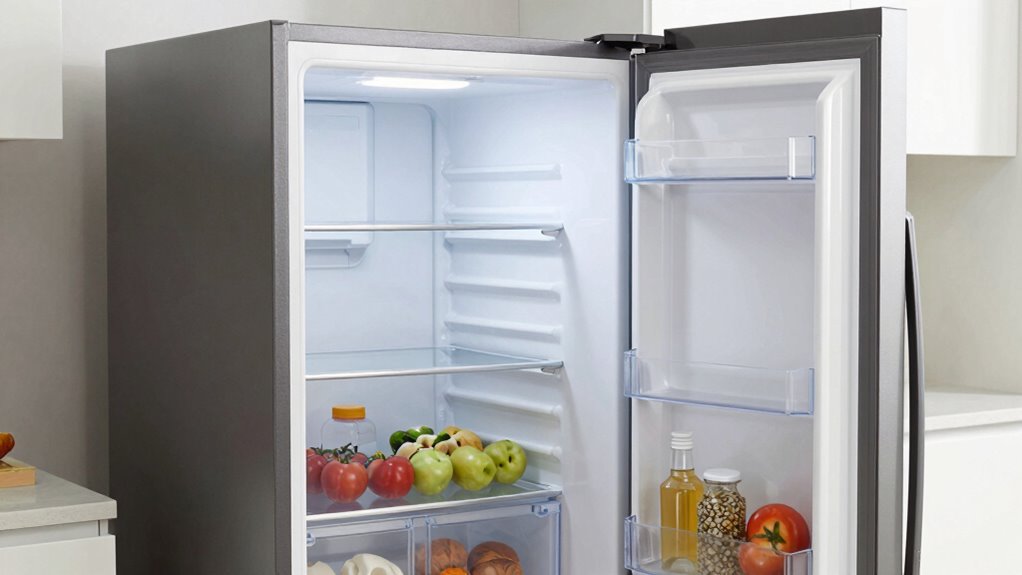
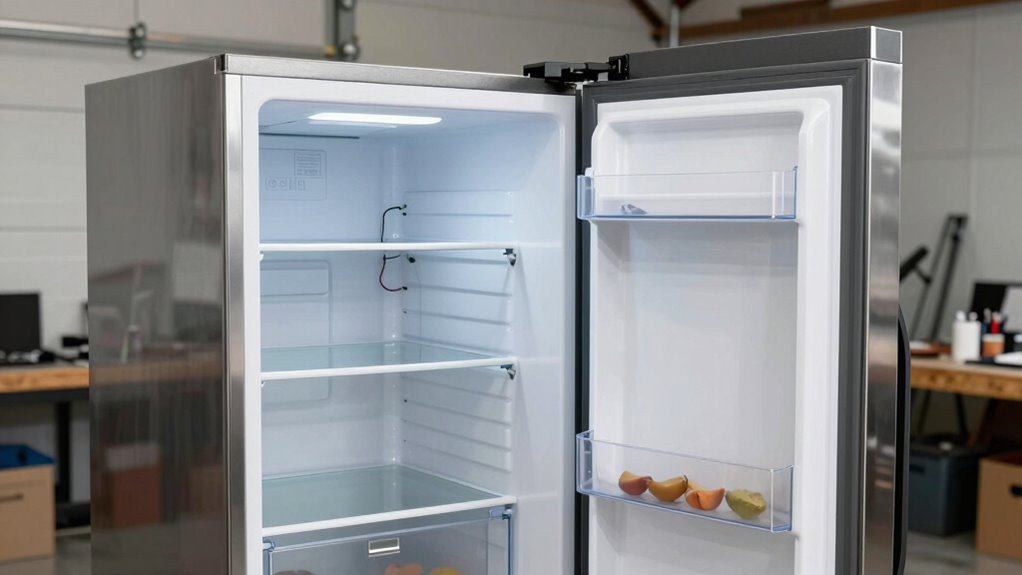
Tips for Handling Doors and Shelves During Freezer Conversion
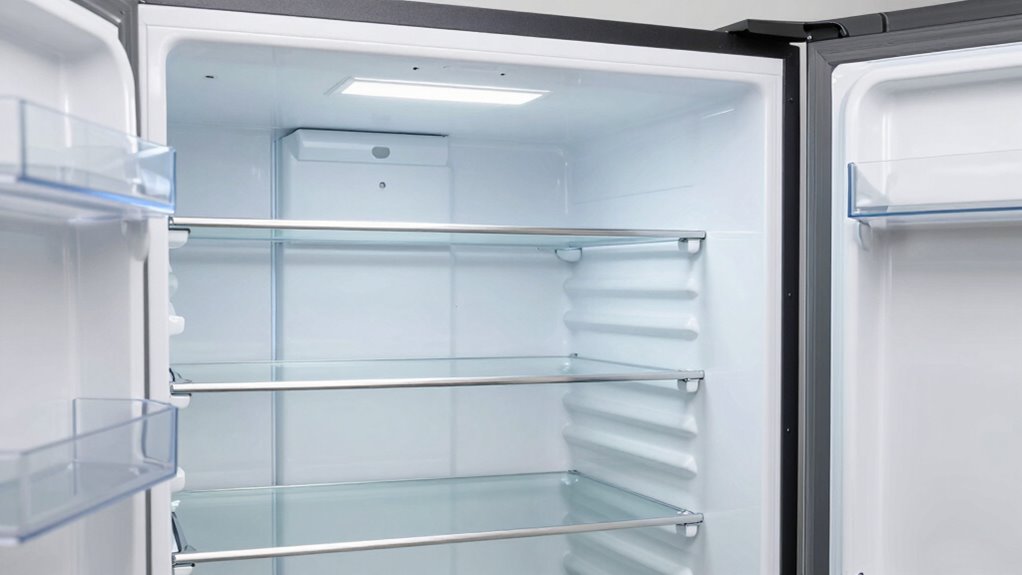
Handling your freezer’s doors and shelves carefully is essential to a smooth conversion process. Start by unscrewing the door hinges gently to avoid damaging the hinges or the gasket. Keep track of all screws and parts for reassembly. When removing shelves, carefully detach the shelf brackets, supporting the shelves to prevent breakage. Use a screwdriver to loosen the brackets without forcing them, which could cause cracks or misalignment. Take note of how shelves are positioned so you can reinstall them correctly later. Protect the gasket around the door frame during removal to maintain its integrity. Being cautious with door hinges and shelf brackets minimizes damage, making reassembly easier and ensuring your converted freezer functions properly afterward. Understanding the fundamentals of proper handling and layout can help prevent unnecessary damage and facilitate easier reassembly. Additionally, familiarizing yourself with wall surface finishes can help you avoid accidental damage to adjacent surfaces during the process. Being aware of material compatibility is also crucial to ensure the longevity of your conversion and avoid future issues. Moreover, proper tool selection plays a key role in preventing accidental damage during disassembly. Remember that careful planning can significantly reduce the risk of costly mistakes and streamline the entire conversion process.
Ensuring Proper Ventilation and Temperature Control After Conversion
Proper ventilation and temperature control are essential after converting your upright freezer to guarantee it operates efficiently and safely. Without adequate ventilation requirements, heat can build up, causing the compressor to work harder and risking equipment failure. Ensuring ideal temperature regulation prevents food spoilage and maintains energy efficiency. You must monitor airflow around the unit and avoid blocking vents, as poor ventilation can lead to overheating. Use fans or vents if necessary to promote consistent airflow. Remember, temperature fluctuations can compromise food safety and increase energy costs. Regularly check the thermometer and adjust as needed. Proper airflow management is crucial for preventing overheating and ensuring consistent performance. Maintaining thermal behavior of the converted unit can help optimize airflow and temperature stability. Being aware of heat dissipation principles allows for better control and longer-lasting operation. Stay vigilant to prevent costly mistakes and ensure peak performance.
Practical Tips to Avoid Common Freezer Conversion Mistakes
Converting an upright freezer can save money and space, but it’s easy to make mistakes that compromise performance or safety. To avoid this, focus on proper installation and insulation. Using custom insulation materials helps maintain consistent temperatures and enhances energy efficiency, reducing electricity costs. Be cautious not to block vents or airflow, which can cause overheating or uneven cooling. Double-check that your modifications don’t interfere with the compressor or safety features. Also, ensure the door seals are airtight to prevent cold air loss. Keep the condenser coils clean for peak performance. Additionally, understanding home appliance systems can help you better plan for optimal airflow and ventilation during conversion. Proper airflow management is essential to prevent overheating and ensure efficient operation. Attention to energy efficiency can significantly impact ongoing operational costs. Understanding thermal insulation principles can help you choose the right materials and placement to maximize performance. By paying attention to insulation, airflow, and sealing, you’ll prevent common mistakes that can lead to increased energy consumption or equipment failure. Proper planning ensures your freezer conversion is safe, efficient, and long-lasting.
When to Call a Pro or Try DIY for Your Freezer Conversion
Deciding whether to call a professional or attempt the conversion yourself depends on your skills and available tools. If you’re confident in your DIY abilities and have the right equipment, you might handle it safely. However, if the task feels complex or risky, it’s best to seek expert help to avoid costly mistakes.
Professional Assistance Versus DIY
When considering whether to tackle your freezer conversion yourself or hire a professional, it’s important to assess your skills and the complexity of the project. If you’re confident in your abilities, DIY can be rewarding, especially for improving energy efficiency and aesthetic appeal. However, if you’re unsure about electrical wiring, insulation, or ventilation, professional help guarantees safety and better results.
Ask yourself:
- Do I have experience with appliance modifications?
- Will I risk damaging the freezer or reducing its efficiency?
- Can I troubleshoot potential problems myself?
- Am I prepared to invest time and effort for a perfect finish?
Choosing professional assistance guarantees a seamless conversion, optimized energy use, and a sleek look. But if you’re confident in your skills, DIY can be satisfying and cost-effective.
Assessing Skill and Tools
Evaluating your skills and available tools is essential before starting a freezer conversion project. You need to honestly assess your skill level and understand what tools are compatible with the task. Skill assessment involves knowing if you can handle electrical connections, cutting, and sealing without risking damage or safety issues. Check if your tools—such as screwdrivers, wire strippers, or power drills—are suitable for the job. If your tools aren’t compatible or your skills are limited, consider calling a professional. Attempting complex tasks without proper experience can lead to costly mistakes or safety hazards. Being realistic about your abilities ensures you choose the right approach—whether DIY or pro assistance—saving time, money, and ensuring a safe, successful freezer conversion.
Frequently Asked Questions
Can All Upright Freezers Be Safely Converted Into Custom Units?
Not all upright freezers can be safely converted into custom units. You need to take into account energy efficiency and refrigerant compatibility first. Some freezers aren’t designed for modifications, risking leaks or system failure. Check if the refrigerant matches your new setup, and ensure the conversion doesn’t compromise efficiency. If you’re unsure, consult a professional to avoid damaging the unit or voiding warranties.
What Are the Hidden Costs Involved in Freezer Conversion Projects?
When you convert a freezer, you might overlook hidden expenses like additional insulation, specialized wiring, or upgraded cooling systems. These costs can quickly add up beyond your initial cost estimation. You should also consider potential modifications to the door, shelving, or seals, which can require professional help. Planning for these hidden expenses guarantees your conversion stays within budget and functions properly without unexpected surprises.
How Does Freezer Age Affect the Conversion Process and Outcomes?
You’ll find that freezer age markedly impacts the conversion process and outcomes. As your freezer reaches the end of its lifespan, aging effects like decreased insulation efficiency and worn components can hinder performance and increase energy costs. Older freezers may require more repairs and adjustments, making the conversion less effective. To guarantee a successful project, consider the freezer’s lifespan and potential aging effects before proceeding.
Are There Specific Tools Required for Successful Freezer Modification?
Think of modifying your freezer like assembling a puzzle—you’ll need the right tools to fit everything perfectly. You’ll require custom tools like screwdrivers, pliers, and possibly a multimeter for electrical checks, along with modification techniques to adjust shelves or wiring. These tools guarantee precision and safety, so invest in quality. Without them, your conversion could turn into a game of chance, rather than a successful upgrade.
What Safety Precautions Should I Take During the Conversion Process?
During your conversion, prioritize electrical safety by unplugging the freezer before starting and inspecting wiring for damage. Make certain proper ventilation around the unit to prevent overheating and allow for safe heat dissipation. Wear insulated gloves and safety goggles to protect against sharp edges and electrical sparks. Keep a fire extinguisher nearby, and work in a well-lit, dry area to minimize risks and ensure a safe, successful conversion process.
Conclusion
So, after all this, it’s amusing how many overlook the simplest challenge: their freezer’s built-in design. You might think a quick DIY tweak will do, but forget the insulation or ventilation—suddenly your “easy project” turns into a costly mess. Irony’s sweet, isn’t it? Sometimes, the smartest move is knowing when to call a pro before your freezer becomes a fancy, expensive paperweight. Don’t say we didn’t warn you!