To test your water at home easily, start by choosing a simple testing kit that fits your needs, like one for lead, chlorine, or bacteria. Follow the clear, step-by-step instructions—usually involving collecting water in a container, adding test strips or reagents, and comparing colors to a guide. Keep it straightforward and safe. If you’re interested, there’s more to learn about interpreting results and keeping your water quality high.
Key Takeaways
- Use simple water test kits with color change indicators to quickly assess contaminants like chlorine or lead.
- Follow clear instructions: collect water in a clean container and add reagents as directed.
- Compare the test results to provided color charts for easy interpretation.
- Look for visible signs such as discoloration, odors, or particles as initial indicators of contamination.
- If results are concerning, consider retesting or consulting professionals for more detailed analysis.
Why Testing Your Water at Home Matters for Your Family’s Health
Testing your water at home is essential because it helps you identify potential contaminants that could harm your family’s health. Pediatric concerns are especially important since children are more vulnerable to pollutants like lead, bacteria, and chemicals. Knowing what’s in your water allows you to make informed decisions about water filtration systems that can remove harmful substances. Without regular testing, you might unknowingly expose your family to health risks, including developmental issues or gastrointestinal illnesses. Proper water testing gives you peace of mind and helps ensure safe drinking water for everyone, especially the little ones. Additionally, understanding your water quality can help you choose the most effective water purifier maintenance dos and don’ts to keep your water safe. Being aware of water quality testing options and procedures can also help you interpret your test results accurately. Regular testing can empower you to take preventative measures, reducing the likelihood of long-term health problems and keeping your family healthy and safe. Moreover, understanding the specific contaminants present can guide you in selecting the right water treatment methods tailored to your needs. Incorporating knowledge about sound design techniques can help you better understand how to identify and address issues with your water quality, such as noise or interference during testing.
How to Choose an Easy-to-Use Water Testing Kit
When selecting a water testing kit, look for simple features that make the process straightforward. Focus on easy-to-understand instructions and clear results to save time and avoid confusion. Choosing an intuitive kit guarantees you can quickly check your water quality without any hassle. Additionally, consider kits that support natural filtration systems, ensuring your pool or backyard water remains safe and environmentally friendly. Opting for a kit with user-friendly design can further simplify the testing process and improve accuracy. To better understand the importance of proper testing, reviewing field‑of‑view concepts can help you appreciate how clear and accurate results contribute to overall water safety. Recognizing the passive voice detection capabilities of your chosen tool can enhance your confidence in interpreting the results correctly.
Easy Selection Criteria
Choosing an easy-to-use water testing kit starts with identifying your specific needs and comfort level. If you’re concerned about water filtration, look for kits that test for common contaminants like chlorine, lead, or bacteria. If water conservation is a priority, select a kit that helps you identify issues affecting your water quality, so you can make informed decisions without overcomplicating the process. Consider the complexity of the kit—whether it offers straightforward color changes or digital readouts—based on your familiarity and confidence. Also, check reviews to ensure simplicity of use and clear instructions. A simple, reliable kit saves time and reduces frustration, making water testing accessible and less intimidating. Incorporating visual and auditory cues can further assist in understanding test results for those who prefer multi-sensory learning. Using trusted testing methods can help ensure accurate results without requiring advanced technical skills. Additionally, choosing kits with clear instructions can significantly improve ease of use and confidence in your testing process. Selecting a kit with easy-to-interpret results can further streamline your testing experience and reduce the chance of misreading outcomes.
Simple Testing Features
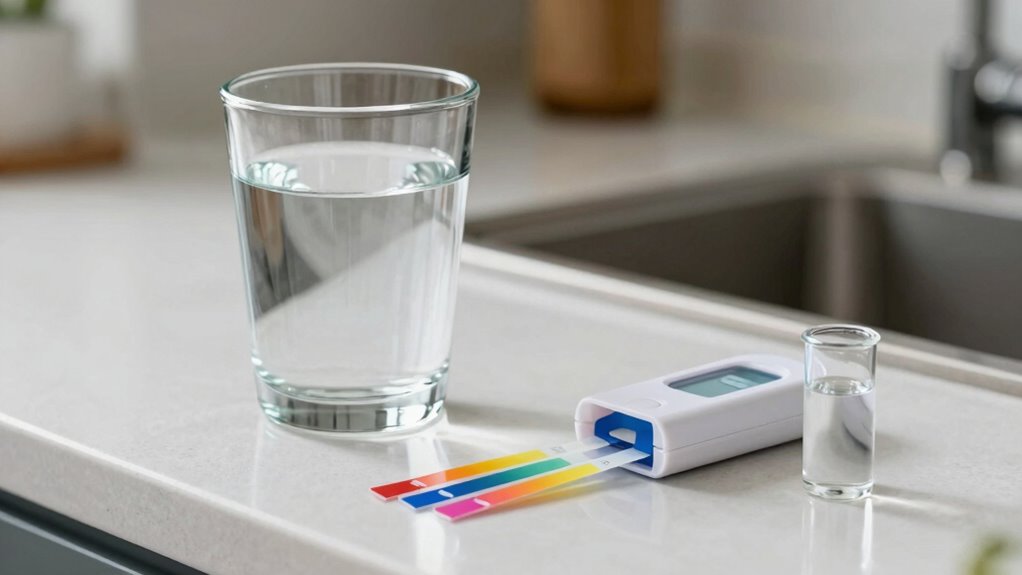
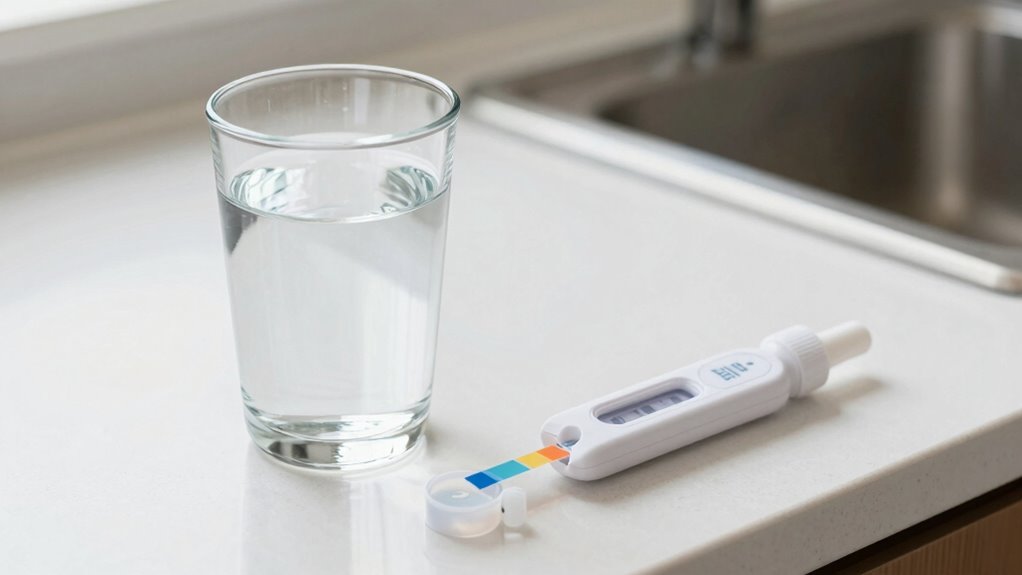
To find an easy-to-use water testing kit, focus on features that simplify the process and provide clear results. Look for kits with straightforward instructions and quick indicators. Consider these key features:
- Color Change Indicators – Easily interpret results for water pH and mineral content without guesswork.
- Pre-Mixed Test Solutions – Save time and avoid mixing errors, ensuring accurate readings.
- Clear, Readable Labels – Quickly identify which tests measure pH, minerals, or other contaminants.
- Compact Design – Handle the kit comfortably and test small water samples with ease.
- User-Friendly Procedures – Choose kits designed with simplicity in mind, so you don’t need extra tools or steps to get reliable results. Additionally, selecting kits with clear instructions helps prevent confusion and ensures you can perform tests accurately on your own. Prioritizing ease of use can also reduce testing errors and make it more likely you’ll test your water regularly. When selecting a kit, look for intuitive features that make testing straightforward for anyone, regardless of experience. Being aware of common testing challenges can help you choose a more effective kit. These features make testing hassle-free, helping you understand your water’s pH and mineral levels with minimal effort. Opt for kits that prioritize simplicity while delivering reliable, actionable results.
What Water Contaminants Can You Detect at Home?

At home, you can spot potential water issues by looking for visible particles, strange odors, or discoloration. These signs can indicate contaminants or problems with your water supply. Paying attention to these clues helps you decide if further testing is necessary. Additionally, understanding common water contaminants such as heavy metals can help you assess the risks more accurately. Recognizing issues like water discoloration can also signal the presence of certain minerals or pollutants that may require professional testing or treatment. Conducting simple home water tests can help confirm suspicions and guide appropriate action, especially since water quality can be affected by factors like aging pipes or environmental pollution. Performing regular water testing can provide early detection and prevent health issues associated with contaminated water.
Visible Water Particles
Visible water particles can provide quick clues about potential contamination. By observing water clarity and particle size, you can spot issues early. Look for:
- Cloudiness or murkiness that suggests suspended solids or dirt.
- Tiny specks floating, indicating sediment or organic matter.
- Larger particles that may be debris or rust.
- A hazy appearance, hinting at clay or mineral content.
These visual cues help you assess water quality without specialized tools. If water appears cloudy or particles are visible to the naked eye, it could signal contamination. Keep in mind, smaller particles may not be visible but still affect water clarity. Regular observations can help you decide when to test further or seek professional help. Detecting these particles early can protect your health and ensure safe drinking water. Monitoring water quality through visual inspection is an essential step in maintaining safe indoor water. Additionally, understanding water contaminants and their sources can help you take more effective preventative measures.
Unusual Water Odors
Unusual water odors can be a strong indicator of contamination and should not be overlooked. If you notice a strange smell—like rotten eggs, sulfur, or chemicals—it’s a sign to perform odor detection. These odors often point to contaminants such as bacteria, hydrogen sulfide, or volatile organic compounds. To test at home, smell the water directly from your tap or faucet. If the smell persists, try running the water for a few minutes or using a clean glass to get a fresh sample. To eliminate the smell temporarily, you can try chilling the water or aerating it. However, persistent odors mean it’s time to investigate further or contact a professional. Addressing unusual odors quickly helps ensure your water remains safe and drinkable.
Cloudy or Discolored Water
Have you noticed your water looks cloudy or has a discolored tint? This water discoloration can signal contaminants or mineral buildup. To identify potential issues at home, consider these clues:
- Cloudy water that refuses to clear after settling, indicating suspended particles.
- A yellow or brown hue, suggesting iron or manganese presence.
- Greenish tint, possibly from algae or copper piping corrosion.
- Murky water that looks muddy, hinting at sediment or dirt intrusion.
These signs of water discoloration point to different contaminants. While cloudy water often results from air bubbles or mineral deposits, persistent discoloration may require professional testing. Recognizing these visual cues helps you decide if more thorough testing or treatment is necessary.
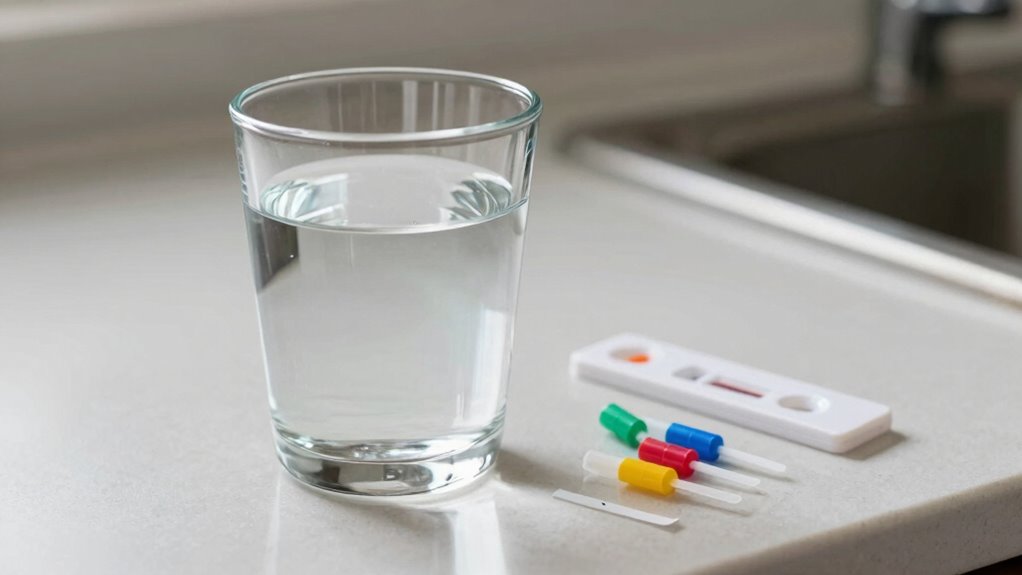
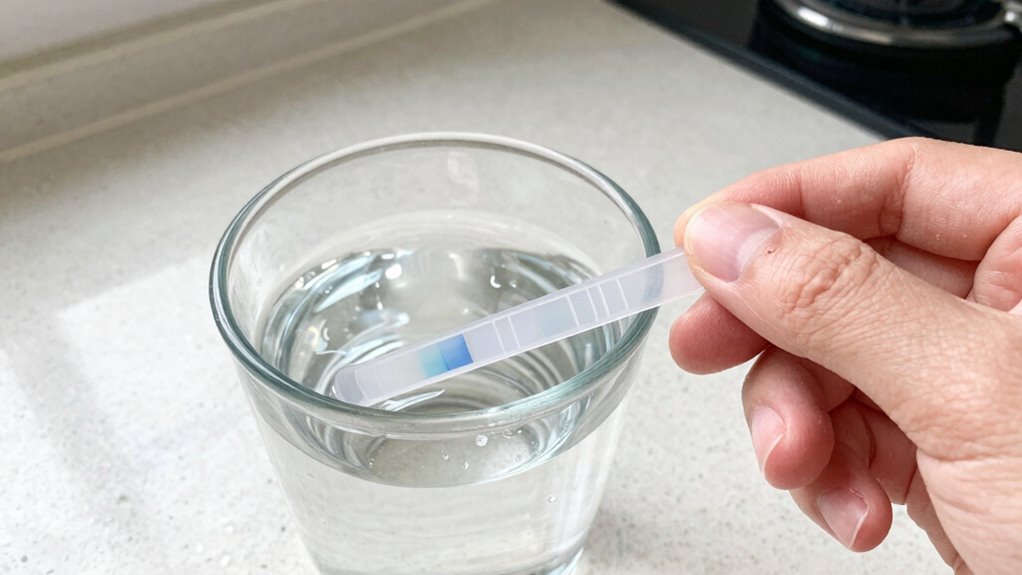
How to Test Your Water at Home: A Step-by-Step Guide
Wondering how to guarantee your water is safe to drink? Start by understanding simple water testing methods you can do at home. Begin with collecting a water sample in a clean container. Use affordable test kits that target key water quality indicators like pH, chlorine, lead, and bacteria. Follow the instructions carefully to make certain accurate results. These kits typically involve adding reagents or using test strips that change color based on the water’s condition. Record your results and compare them to the provided color charts. While these tests won’t give a complete picture, they help identify potential issues early. Regular testing with reliable water testing methods ensures you stay informed about your water quality and can decide if professional testing is necessary.
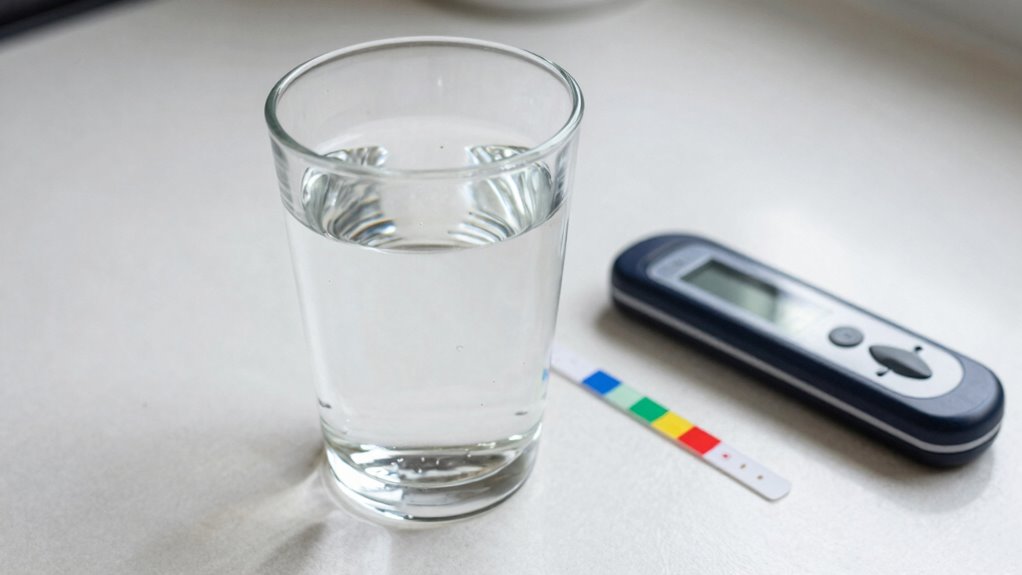
How to Understand Your Water Test Results and What They Mean
Once you’ve completed your water tests, it’s essential to understand what the results mean to determine if your water is safe. To guarantee water testing accuracy, carefully review the numbers and compare them to safety standards. When interpreting test results, consider these key points:
Understanding your water test results is key to ensuring your water is safe and contaminant-free.
- Look for levels that exceed safety guidelines, indicating potential contamination.
- Understand which contaminants are present—like bacteria, lead, or nitrates.
- Check if your test kit provides clear, easy-to-understand readings.
- Remember that false positives or negatives can occur, so consider retesting if results are questionable.
What to Do Next if Your Water Is Contaminated?

If your water test results reveal contamination, taking immediate action is essential to protect your health and safety. Start by identifying the specific contaminants present. Then, consider effective contaminant removal methods, such as installing water filtration systems designed to target those pollutants. Depending on the type of contamination, you might need activated carbon filters, reverse osmosis units, or UV purifiers. Regularly maintaining and replacing your filters guarantees your water remains safe. If contamination levels are high or persistent, consulting a water treatment professional can help you determine the best solution. Remember, addressing water contamination promptly prevents health risks and enhances water quality, giving you peace of mind every time you turn on your tap.
Tips to Keep Your Water Safe After Testing
After testing your water, taking proactive steps can help guarantee it stays safe for everyday use. First, consider installing a water filtration system to remove contaminants and improve taste. Second, regularly replace filters according to the manufacturer’s instructions to maintain effectiveness. Third, keep a supply of bottled water on hand for emergencies or when testing indicates contaminants. Fourth, monitor your water quality periodically with DIY test kits to catch issues early. These steps assure your water remains clean and safe, reducing reliance on uncertain sources. Water filtration can address common problems, while bottled water offers a reliable backup. Staying vigilant and proactive helps you enjoy safe, quality water every day.
FAQs About Home Water Testing and Water Quality

Understanding common questions about home water testing can help you interpret results accurately and maintain safe drinking water. One frequent concern is pH balance; testing your water’s pH ensures it’s neither too acidic nor too alkaline, which can affect taste and pipe health. Water hardness is another common question—hard water contains high mineral levels, especially calcium and magnesium, leading to scale buildup and soap inefficiency. If your test shows high hardness, you might need a water softener. Additionally, many wonder how often to test and which kits are reliable. Regular testing helps catch issues early and keeps your water safe. Remember, comprehending these basics empowers you to take appropriate action, ensuring your water remains clean, balanced, and healthy for your home.
Frequently Asked Questions
How Often Should I Test My Home Water Supply?
You should test your home water supply at least once a year to make certain it meets water quality standards. Testing frequency recommendations may vary if you notice changes in taste, smell, or appearance, or if your home uses well water. Regular testing helps catch contaminants early, safeguarding your health. Keep in mind, local regulations or specific water sources might require more frequent checks to maintain safe drinking water.
Can I Test Well Water Myself or Need Professional Help?
You can definitely do DIY testing for well water, but for accurate results, consider professional analysis. DIY kits are easy to use and give quick insights into common contaminants like bacteria, nitrates, and pH levels. However, if you want thorough testing or suspect serious issues, it’s best to hire professionals who have advanced equipment. This way, you get reliable results and ensure your water is safe to use.
Are There Seasonal Variations in Water Quality Testing?
Sure, seasonal fluctuations can mess with your water quality, so testing frequency should increase during change of seasons. You might find your well water more contaminated in the spring runoff or after heavy rains, so don’t be lazy—test more often. Staying vigilant guarantees you catch those sneaky pollutants before they turn your tap water into a science experiment. Keep testing regularly, especially during seasonal shifts, to keep your water safe and drinkable.
What Are the Costs Associated With Home Water Testing Kits?
Home water testing kits are generally affordable, with prices typically ranging from $10 to $50, depending on the complexity of tests and brand. You’ll find testing kit availability easily online and in local stores, making it simple to access the tools you need. Keep in mind that more extensive kits may cost more, but basic tests are usually budget-friendly, giving you quick insights into your water quality without breaking the bank.
How Long Does It Take to Get Water Test Results?
Imagine waiting for a seed to sprout—your testing kit’s results follow a similar rhythm. Usually, you’ll see results in 24 to 72 hours after sending your water sample to a lab for analysis. The exact timing varies depending on the testing kit and lab workload. During this wait, your water’s story unfolds, revealing its purity or potential contaminants—giving you peace of mind or the chance to take action.
Conclusion
Testing your water at home isn’t rocket science—it’s about keeping your family safe and healthy. By choosing the right kit and understanding your results, you can catch problems early and take action. Remember, it’s better to be safe than sorry, so don’t wait until issues pop up. Stay proactive, maintain your water quality, and think of it as watering your most valuable resource—you’re nurturing your family’s well-being every step of the way.