The biggest mistake you might make when waterproofing a freezer conversion is skipping proper surface prep or relying solely on tape instead of sealing seams and joints correctly. Many DIYers overlook critical steps like sealing electrical entry points or choosing compatible, durable materials for cold environments. This can lead to leaks, mold, or long-term damage. Keep in mind, your success depends on following proven techniques—exploring more will help guarantee your project stays dry and safe.
Key Takeaways
- Relying solely on tape or sealants without thorough surface preparation and suitable waterproof materials.
- Ignoring seams, joints, and electrical entry points, leading to hidden leaks and moisture ingress.
- Using incompatible or rigid waterproofing products that crack under temperature fluctuations.
- Skipping proper drainage and ventilation systems, causing water pooling and high humidity.
- Failing to test and inspect waterproofing regularly, allowing small issues to develop into major damage.

BANGSON 7.1 Cu.Ft Chest Freezer, Deep Freezer with Adjustable Thermostat, Top Open Door Freezer with Removable Basket, Quiet Operation, Ideal for Kitchen/Apartment/Office
Spacious Capacity: The 7.1 Cu. Ft chest measures 21.46 x 32.09 x 33.46 inches and offers a generous...
As an affiliate, we earn on qualifying purchases.
Why Waterproofing Matters in Freezer Conversions
Waterproofing is vital in freezer conversions because moisture can cause serious damage over time. Many people fall for waterproofing myths, believing that sealing alone is enough, but effective waterproofing techniques go beyond just applying a sealant. Without proper waterproofing, condensation can lead to rust, mold, and electrical issues that compromise your freezer’s performance and safety. It’s essential to understand that waterproofing isn’t a one-size-fits-all solution; it requires tailored methods suited to your specific setup. Using incorrect techniques can result in leaks and long-term damage. By knowing the truth behind waterproofing myths and applying proven techniques, you ensure your conversion remains dry, safe, and efficient, avoiding costly repairs and preserving the integrity of your freezer’s interior. Proper waterproofing methods are crucial for long-term durability and safety in freezer conversions. Additionally, understanding the materials and techniques involved can help you select the most effective waterproofing solutions for your project, especially considering moisture management strategies that prevent future issues. Recognizing the importance of contrast ratio and other technical factors can also guide you in optimizing your setup to prevent moisture-related problems. Proper waterproofing also involves understanding the environmental conditions your freezer will operate in, which can significantly influence the effectiveness of your waterproofing approach.
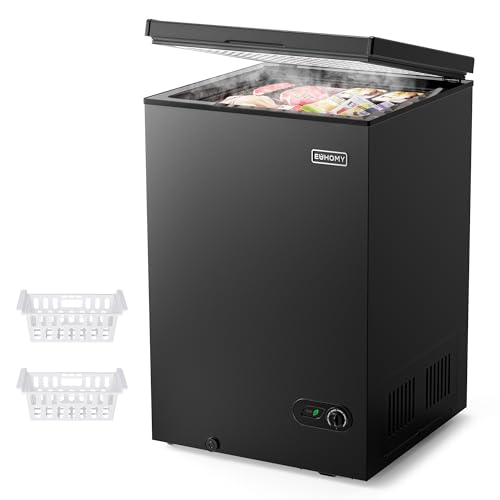
EUHOMY 3.5 Cu.Ft Chest Freezer with Removable Basket, Small Deep Freezer Adjustable 7 Thermostat, Quiet Mini Freezer Free-Standing Top Door, Energy Saving for Apartment/Garage/Basement/Dorm/Home,Black
COMBINE CAPACITY AND SIZE - Euhomy freezer requires only a small footprint of 3.2 ft² and fits into...
As an affiliate, we earn on qualifying purchases.
Basic Waterproofing Principles for Freezers
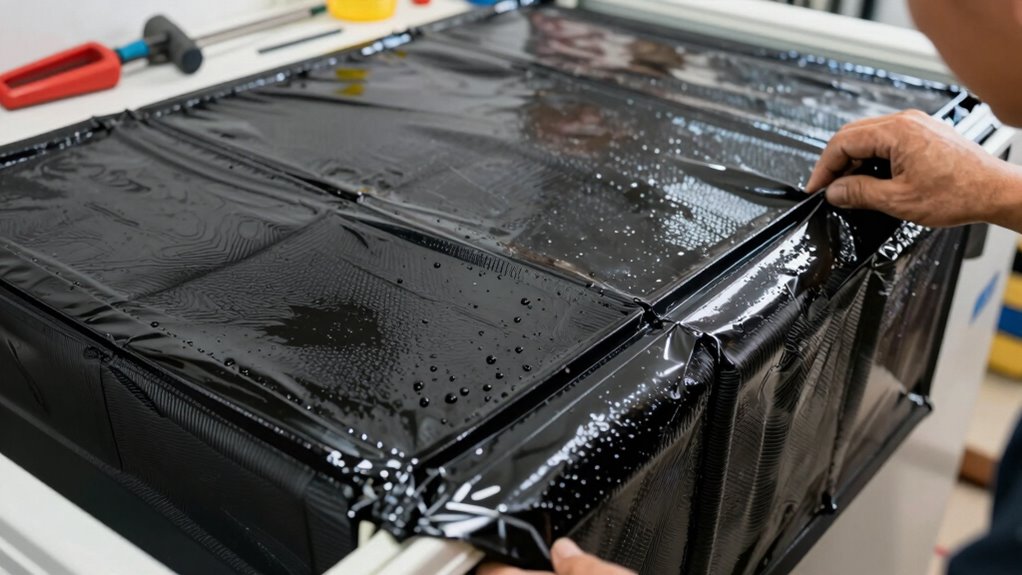
To effectively waterproof a freezer conversion, you need to understand and apply some basic principles that prevent moisture intrusion and damage. First, ensure proper thermal insulation to minimize condensation and keep the interior dry. Second, install effective moisture barriers, like plastic sheeting or specialized coatings, to block water from seeping into walls and insulation. Third, seal all seams, joints, and openings thoroughly to prevent water leaks. Proper sealing techniques are essential for durability and help maintain a dry environment and protect your conversion from mold and corrosion. These steps help maintain a dry environment and protect your conversion from mold and corrosion. Incorporating connected fitness technology can also help monitor moisture levels and detect potential issues early. Additionally, using proper ventilation systems aids in controlling humidity and preventing moisture buildup inside the converted freezer. Proper installation techniques are crucial to ensure these components work effectively and last over time. Employing moisture monitoring devices can further enhance your ability to spot problems before they cause significant damage. Remember, a well-placed moisture barrier and good insulation are your best defenses against water damage, ensuring your freezer stays reliable and efficient over time. Focusing on these core principles keeps your project on track and prevents costly mistakes down the line.
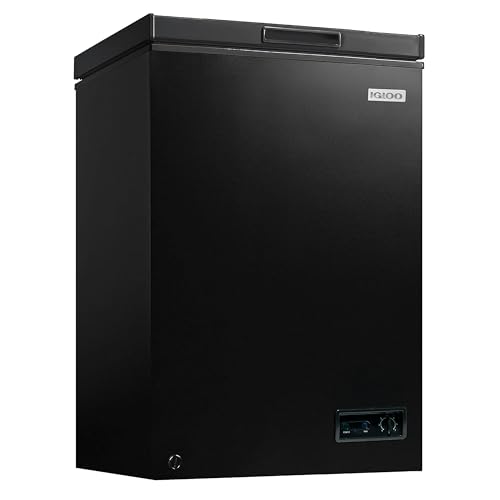
Igloo 3.5 Cu Ft. Upright Deep Freezer Chest- Deep Freezer with Quick Freezing System & Adjustable Thermostat- Low Noise Freezer with Removable Basket & LED Lights for Homes, Garages & Basements- Black
Spacious Capacity: Our black deep freezer offers 3.5 cu ft of storage while staying compact enough for homes...
As an affiliate, we earn on qualifying purchases.
Common Waterproofing Mistakes DIYers Make
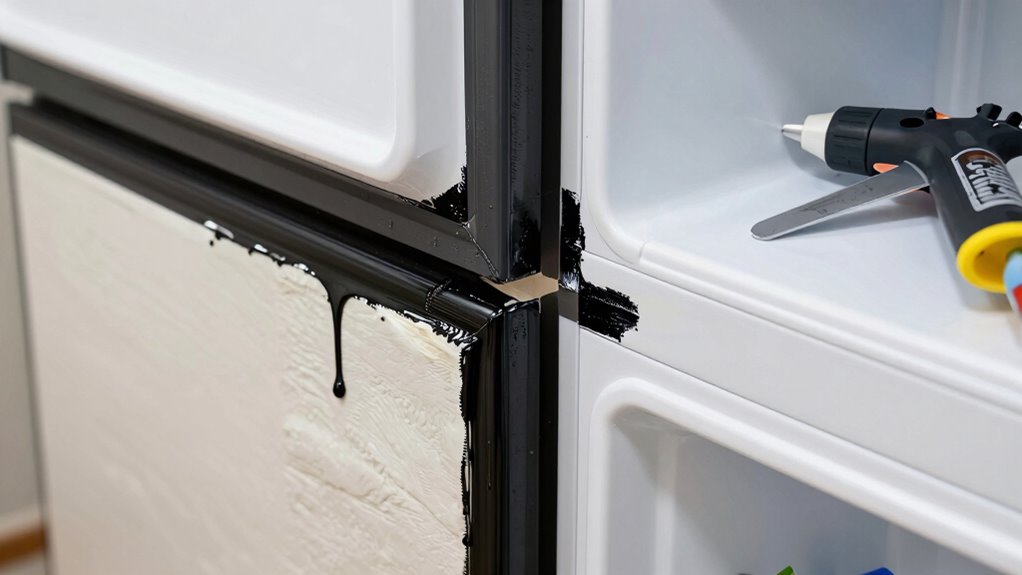
Many DIYers underestimate the importance of thorough sealing, which often leads to moisture leaks and water damage. Proper sealing involves not just applying a material but ensuring it adheres effectively to the surface, which can be compromised by surface contaminants or improper application techniques. Common waterproofing myths can cause you to cut corners, like thinking a quick seal suffices or that waterproofing spray is enough. These mistakes compromise your freezer’s protection. To visualize, imagine these potential errors:
| Mistake | Consequence |
|---|---|
| Relying solely on tape | Leaks over time |
| Ignoring seams | Water seeping through gaps |
| Skipping surface prep | Poor adhesion and failure |
| Using inappropriate materials | Reduced waterproofing effectiveness |
| Believing DIY waterproofing is enough | False sense of security, leaks |
Avoid these pitfalls by understanding the limits of DIY waterproofing and dispelling common myths. Proper sealing is essential for a leak-free freezer conversion and local material compatibility is critical to ensure long-lasting protection. Additionally, proper surface preparation can significantly enhance the durability of your waterproofing efforts, especially when combined with knowledge of home maintenance practices, and ensuring you use the right techniques to prevent common application errors. Recognizing the limitations of DIY methods can help you avoid unnecessary repairs and ensure your waterproofing holds up over time.

EUHOMY 3.5 Cu.Ft Chest Freezer with Wheels, Small Deep Freezer Adjustable 7 Thermostat, Quiet Mini Freezer Free-Standing Top Door, Energy Saving for Apartment/Garage/Basement/Dorm/Home, New Black
COMBINE CAPACITY AND SIZE - Euhomy freezer requires only a small footprint of 2.8 ft² and fits into...
As an affiliate, we earn on qualifying purchases.
How to Choose the Right Waterproofing Materials
Choosing the right waterproofing materials means ensuring they’re compatible with your freezer’s surfaces and components. You’ll also want materials that are durable enough to withstand temperature fluctuations and moisture over time. Flexibility is key, so your waterproofing can adapt to movement without cracking or failing. Additionally, selecting materials that support safety and non-toxicity is essential, especially if there’s a chance of contact with food or indoor air quality concerns material safety standards. Considering thermal expansion properties can help prevent future damage caused by temperature changes. Understanding material compatibility with various surfaces ensures a long-lasting, effective seal in your freezer conversion. Evaluating moisture resistance is also crucial to maintain insulation and prevent mold growth over the lifespan of the conversion. To achieve optimal results, researching proper application techniques can ensure your waterproofing remains effective over time.
Material Compatibility Essentials
Selecting the right waterproofing materials is crucial to guarantee your freezer conversion remains durable and effective. If you choose incompatible materials, you risk material incompatibility issues or unwanted chemical reactions that can compromise the seal. To avoid these problems, consider the following essentials:
- Verify that the waterproofing products are compatible with the freezer’s interior surfaces and insulation.
- Check labels for any warnings about chemical reactions or incompatibility with foam or plastics.
- Opt for materials specifically designed for cold environments to prevent cracking or peeling over time.
- Incorporate European cloud innovation principles by choosing environmentally friendly and sustainable waterproofing options whenever possible.
- Additionally, understanding the material compatibility of waterproofing products can help you select solutions that will maintain their integrity in low temperatures and prevent future failures. Being aware of thermal expansion properties can also help prevent cracking due to temperature fluctuations.
Using incompatible materials can lead to leaks, failures, or damage that might be costly to repair. Ensuring compatibility from the start keeps your waterproofing reliable and extends your freezer’s lifespan.
Durability and Flexibility
To guarantee your waterproofing lasts through the freezer’s demanding conditions, focus on materials that offer both durability and flexibility. Flexible membranes adapt to temperature fluctuations and movement, preventing cracks and leaks over time. Look for waterproofing products with flexible properties that can stretch and contract without breaking down. Durable coatings are essential to withstand moisture, cold, and potential impacts, ensuring long-lasting protection. Combining flexible membranes with tough, durable coatings provides a reliable barrier against water infiltration. Avoid rigid materials that can crack under stress or temperature shifts. Instead, choose waterproofing solutions specifically designed for extreme conditions, ensuring your conversion remains protected and functional for years to come. Properly selected materials will save you time and money by reducing maintenance and reapplication needs.
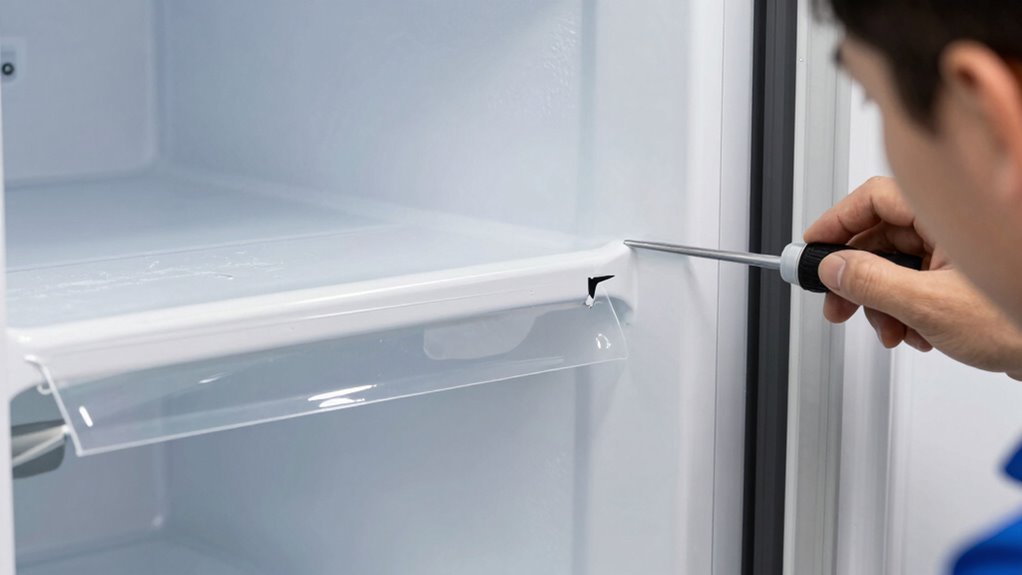
Proper Sealing Around Electrical Components
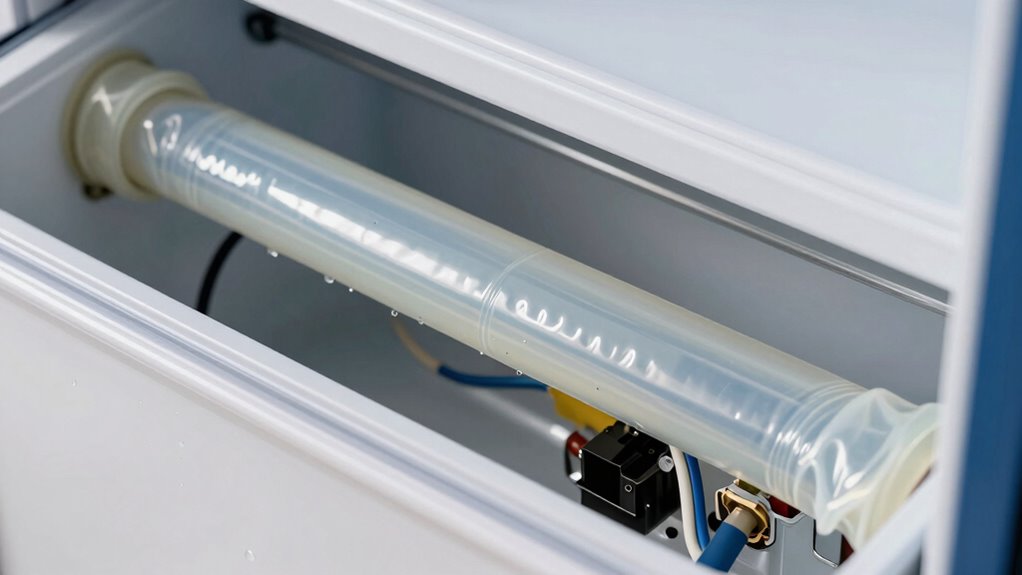
Ensuring proper sealing around electrical components is essential to prevent water intrusion and maintain the integrity of your freezer conversion. Water can easily seep through gaps or cracks in wiring and insulation, risking damage and safety hazards. To avoid this, focus on sealing all electrical wiring and insulation gaps thoroughly.
- Use waterproof sealant around wiring entry points
- Cover exposed electrical connections with insulating and sealing materials
- Check for and fill any gaps in insulation that could allow moisture ingress
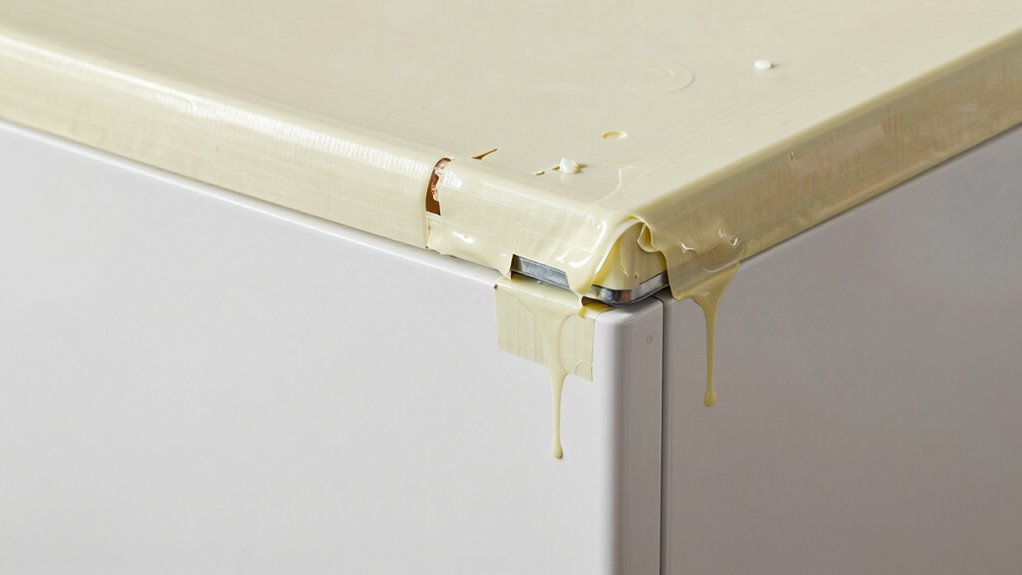
Ensuring Proper Drainage and Ventilation
Proper drainage and ventilation are essential to prevent excess moisture buildup and maintain the efficiency of your freezer conversion. You need effective drainage solutions to allow any condensation or spilled liquids to escape safely, avoiding water pooling that can cause damage or mold. Confirm your drainage system directs water away from electrical components and insulation. Good ventilation design is equally important; it prevents humidity from accumulating inside the converted freezer. Incorporate vents or fans that promote air circulation, reducing moisture levels and maintaining proper airflow. Regularly check and clean these ventilation pathways to keep them clear. Proper drainage and ventilation work together to create a dry, stable environment, protecting your conversion from issues caused by excess moisture and ensuring it functions at its best over time.
How to Apply Waterproofing Products Correctly

Applying waterproofing products correctly is crucial for creating an effective barrier against moisture. Proper application ensures your freezer conversion maintains thermal insulation and controls humidity levels, preventing mold and ice buildup. To do this, follow these steps:
Proper waterproofing protects insulation, prevents mold, and ensures a successful freezer conversion.
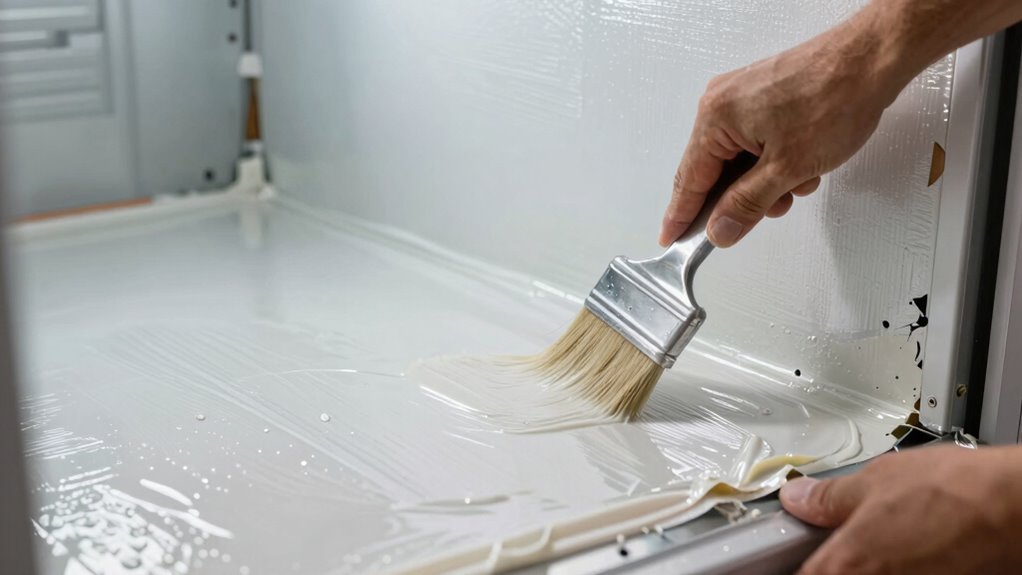
- Clean the surface thoroughly to remove dust and grease, ensuring proper adhesion.
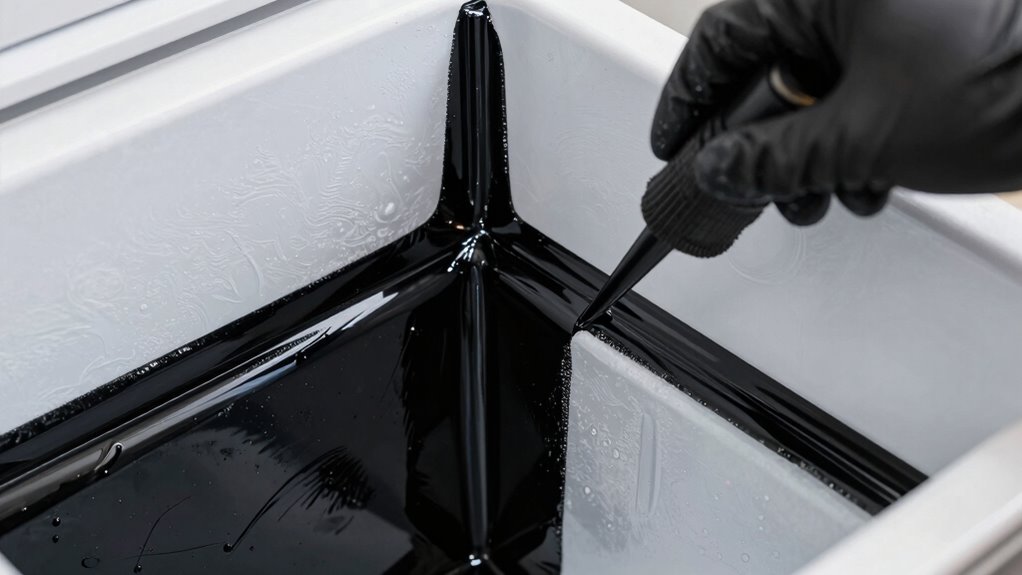
- Apply the waterproofing layer evenly, using a brush or roller, and follow manufacturer instructions for drying times.
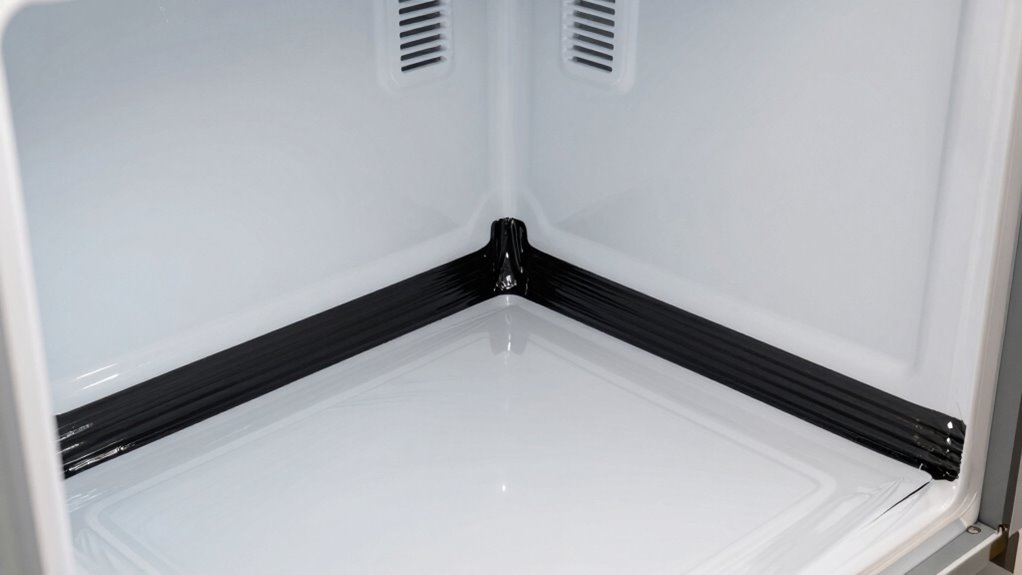
- Pay special attention to seams and corners, sealing all vulnerable areas to prevent leaks.
How to Test Your Waterproofing Effectiveness
Testing your waterproofing is essential to confirm it works effectively before fully relying on your freezer conversion. You can perform simple material testing by applying water to the sealed areas and observing for leaks. Focus on seal integrity by checking for any moisture penetration or drips. Use the table below to guide your testing process:
| Step | Action |
|---|---|
| 1 | Spray or pour water over the waterproofed surfaces |
| 2 | Wait 15-30 minutes and inspect for leaks |
| 3 | Check inside for moisture or damp spots |
| 4 | Reapply waterproofing if leaks are detected |
This straightforward testing helps ensure your waterproofing holds up under real conditions, preventing future issues.
Maintenance Tips for Long-Lasting Waterproofing
To keep your waterproofing effective, you should regularly inspect the seals for signs of wear or damage. Make sure your drainage systems are clear and functioning properly to prevent water buildup. Using high-quality waterproof materials will also help guarantee your freezer stays protected over time.
Regular Seal Inspection
Regular seal inspection is essential to maintain the waterproofing of your freezer conversion over time. Over time, seals can wear or develop small gaps that compromise seal integrity and moisture barriers. Regularly checking these seals helps you catch issues early before water damage occurs. Look for cracks, tears, or hardened areas that could let moisture in. Ensure the seal remains tight around all edges, especially after cleaning or moving the unit.
- Test the seal by closing the door and feeling for drafts or cool air escaping
- Clean the seals gently with mild soap and water to prevent dirt buildup
- Replace worn or damaged seals promptly to keep moisture barriers effective
Proper Drainage Maintenance
Proper drainage is essential to ensuring your freezer conversion stays waterproof over time. If drainage channels clog or become blocked, water can pool and cause leaks or damage. Regularly inspect and clear your drainage paths to prevent water pooling, especially after spills or heavy use. Keep the channels free of debris, dirt, and ice buildup. Consider adding a drain cover that allows easy cleaning. Here’s a simple visualization:
| Drainage Channels | Water Pooling |
|---|---|
| Clear and unobstructed | Water collects and stagnates |
| Free of debris | Leads to leaks or mold growth |
Maintaining proper drainage ensures water flows out efficiently, reducing the risk of long-term waterproofing issues. Prompt attention to drainage channels keeps your freezer conversion dry and functional.
Use Quality Waterproof Materials
Using high-quality waterproof materials is fundamental to guaranteeing your freezer conversion remains sealed and protected over time. Choosing the right sealant selection is essential; opt for sealants specifically designed for cold and moisture-prone environments. A durable waterproof membrane provides an extra layer of defense against leaks and moisture infiltration.
To get the best results:
- Select a waterproof membrane compatible with your freezer’s materials
- Use a sealant that adheres well and remains flexible in low temperatures
- Guarantee all seams and joints are thoroughly sealed for maximum protection
Investing in quality materials prevents future issues, saving you time and money on repairs. Proper sealant selection combined with a reliable waterproof membrane ensures your freezer stays dry and functional longer.
Troubleshooting and Fixing Waterproofing Issues
Waterproofing a freezer conversion can sometimes lead to unexpected issues, but identifying the root cause is key to fixing them quickly. If you notice leaks or water buildup, start by inspecting your paint protection—cracks or gaps can allow moisture to seep in. Check your insulation techniques, ensuring they’re properly sealed and moisture-resistant. Sometimes, the waterproofing layer may have been compromised, so reapply a suitable sealant or waterproof membrane where needed. Use a moisture meter to identify hidden damp spots behind the walls. Properly fixing these issues involves removing damaged materials, correcting insulation flaws, and ensuring all seams are tightly sealed. Regularly inspecting your waterproofing system helps catch problems early and maintains a dry, efficient freezer conversion.
Frequently Asked Questions
How Often Should I Reapply Waterproofing Treatments?
You should reapply waterproofing treatments every 1 to 2 years to maintain sealant longevity. Regular waterproofing maintenance ensures your freezer remains protected from moisture and leaks. Check the sealant’s condition periodically—if you notice cracks or peeling, it’s time for a reapplication. Consistent upkeep prevents costly repairs and keeps your conversion secure. Don’t wait until problems arise; proactive waterproofing maintenance keeps your project in top shape.
Are There Eco-Friendly Waterproofing Options Suitable for Freezers?
Yes, you can find eco-friendly coatings and biodegradable sealants suitable for freezers. Look for products labeled as environmentally safe, which don’t contain harmful chemicals and are safe for food storage areas. These options help reduce your ecological footprint while still providing effective waterproofing. Always check product labels and manufacturer recommendations to guarantee compatibility with freezer environments, and choose those specifically designed for cold, moist conditions.
Can Waterproofing Materials Affect the Freezer’s Insulation?
Waterproofing materials can affect your freezer’s insulation if they aren’t compatible with your sealant choices. Using incompatible sealants or moisture barriers may create gaps or reduce insulation efficiency, leading to heat transfer issues. To prevent this, verify your waterproofing products are compatible with your freezer’s insulation materials. Properly selected moisture barriers and sealants help maintain insulation integrity, keeping your freezer efficient and preventing moisture-related problems.
What Safety Precautions Are Necessary During Waterproofing Application?
Think of waterproofing like sealing a ship; safety gear keeps you afloat. During sealant application, always wear gloves, goggles, and a mask to avoid harmful fumes and skin contact. Ventilate the area well, especially if using strong adhesives. I once neglected safety gear and ended up with a rash—don’t make that mistake. Prioritize safety to guarantee a smooth, secure waterproofing process.
How Does Temperature Fluctuation Impact Waterproofing Durability?
Temperature fluctuations cause thermal expansion and contraction, which can compromise waterproofing if materials aren’t compatible. When temperatures change, different materials expand or contract at varying rates, risking cracks or gaps. To guarantee durability, you need waterproofing products designed for cold environments, with flexible, compatible materials that accommodate thermal movement. This prevents water leaks and maintains the integrity of your freezer conversion over time, despite ongoing temperature fluctuations.
Conclusion
Remember, waterproofing your freezer conversion isn’t just about avoiding leaks—it’s about safeguarding your project like a fortress. Don’t let common mistakes sink your efforts; instead, build with care and attention. Think of waterproofing as the shield that keeps your cold haven dry and functional. When you prioritize proper techniques and materials, you’re not just sealing a freezer—you’re creating a reliable, long-lasting masterpiece that stands the test of time.